Warmup Part 1
Part A: Navigating GitHub Codespaces
Welcome aboard! Please log in to the GitHub account you created during the Pre-Lab.
After logging in, please re-open the Lab 1 repository you created when you followed the Assignment 1 invitation link during the Pre-Lab. The easiest way to do so is through the semester’s GitHub organization page. This page provides a list of all of the repositories for each assignment throughout the semester. For convenience, your instructor will include a shortcut to this page on your Blackboard sidebar and/or you can bookmark this page on your personal computer’s web browser.
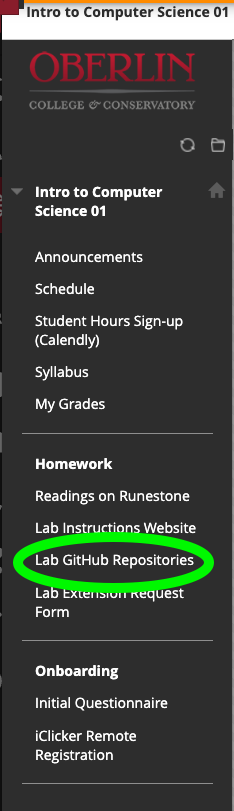
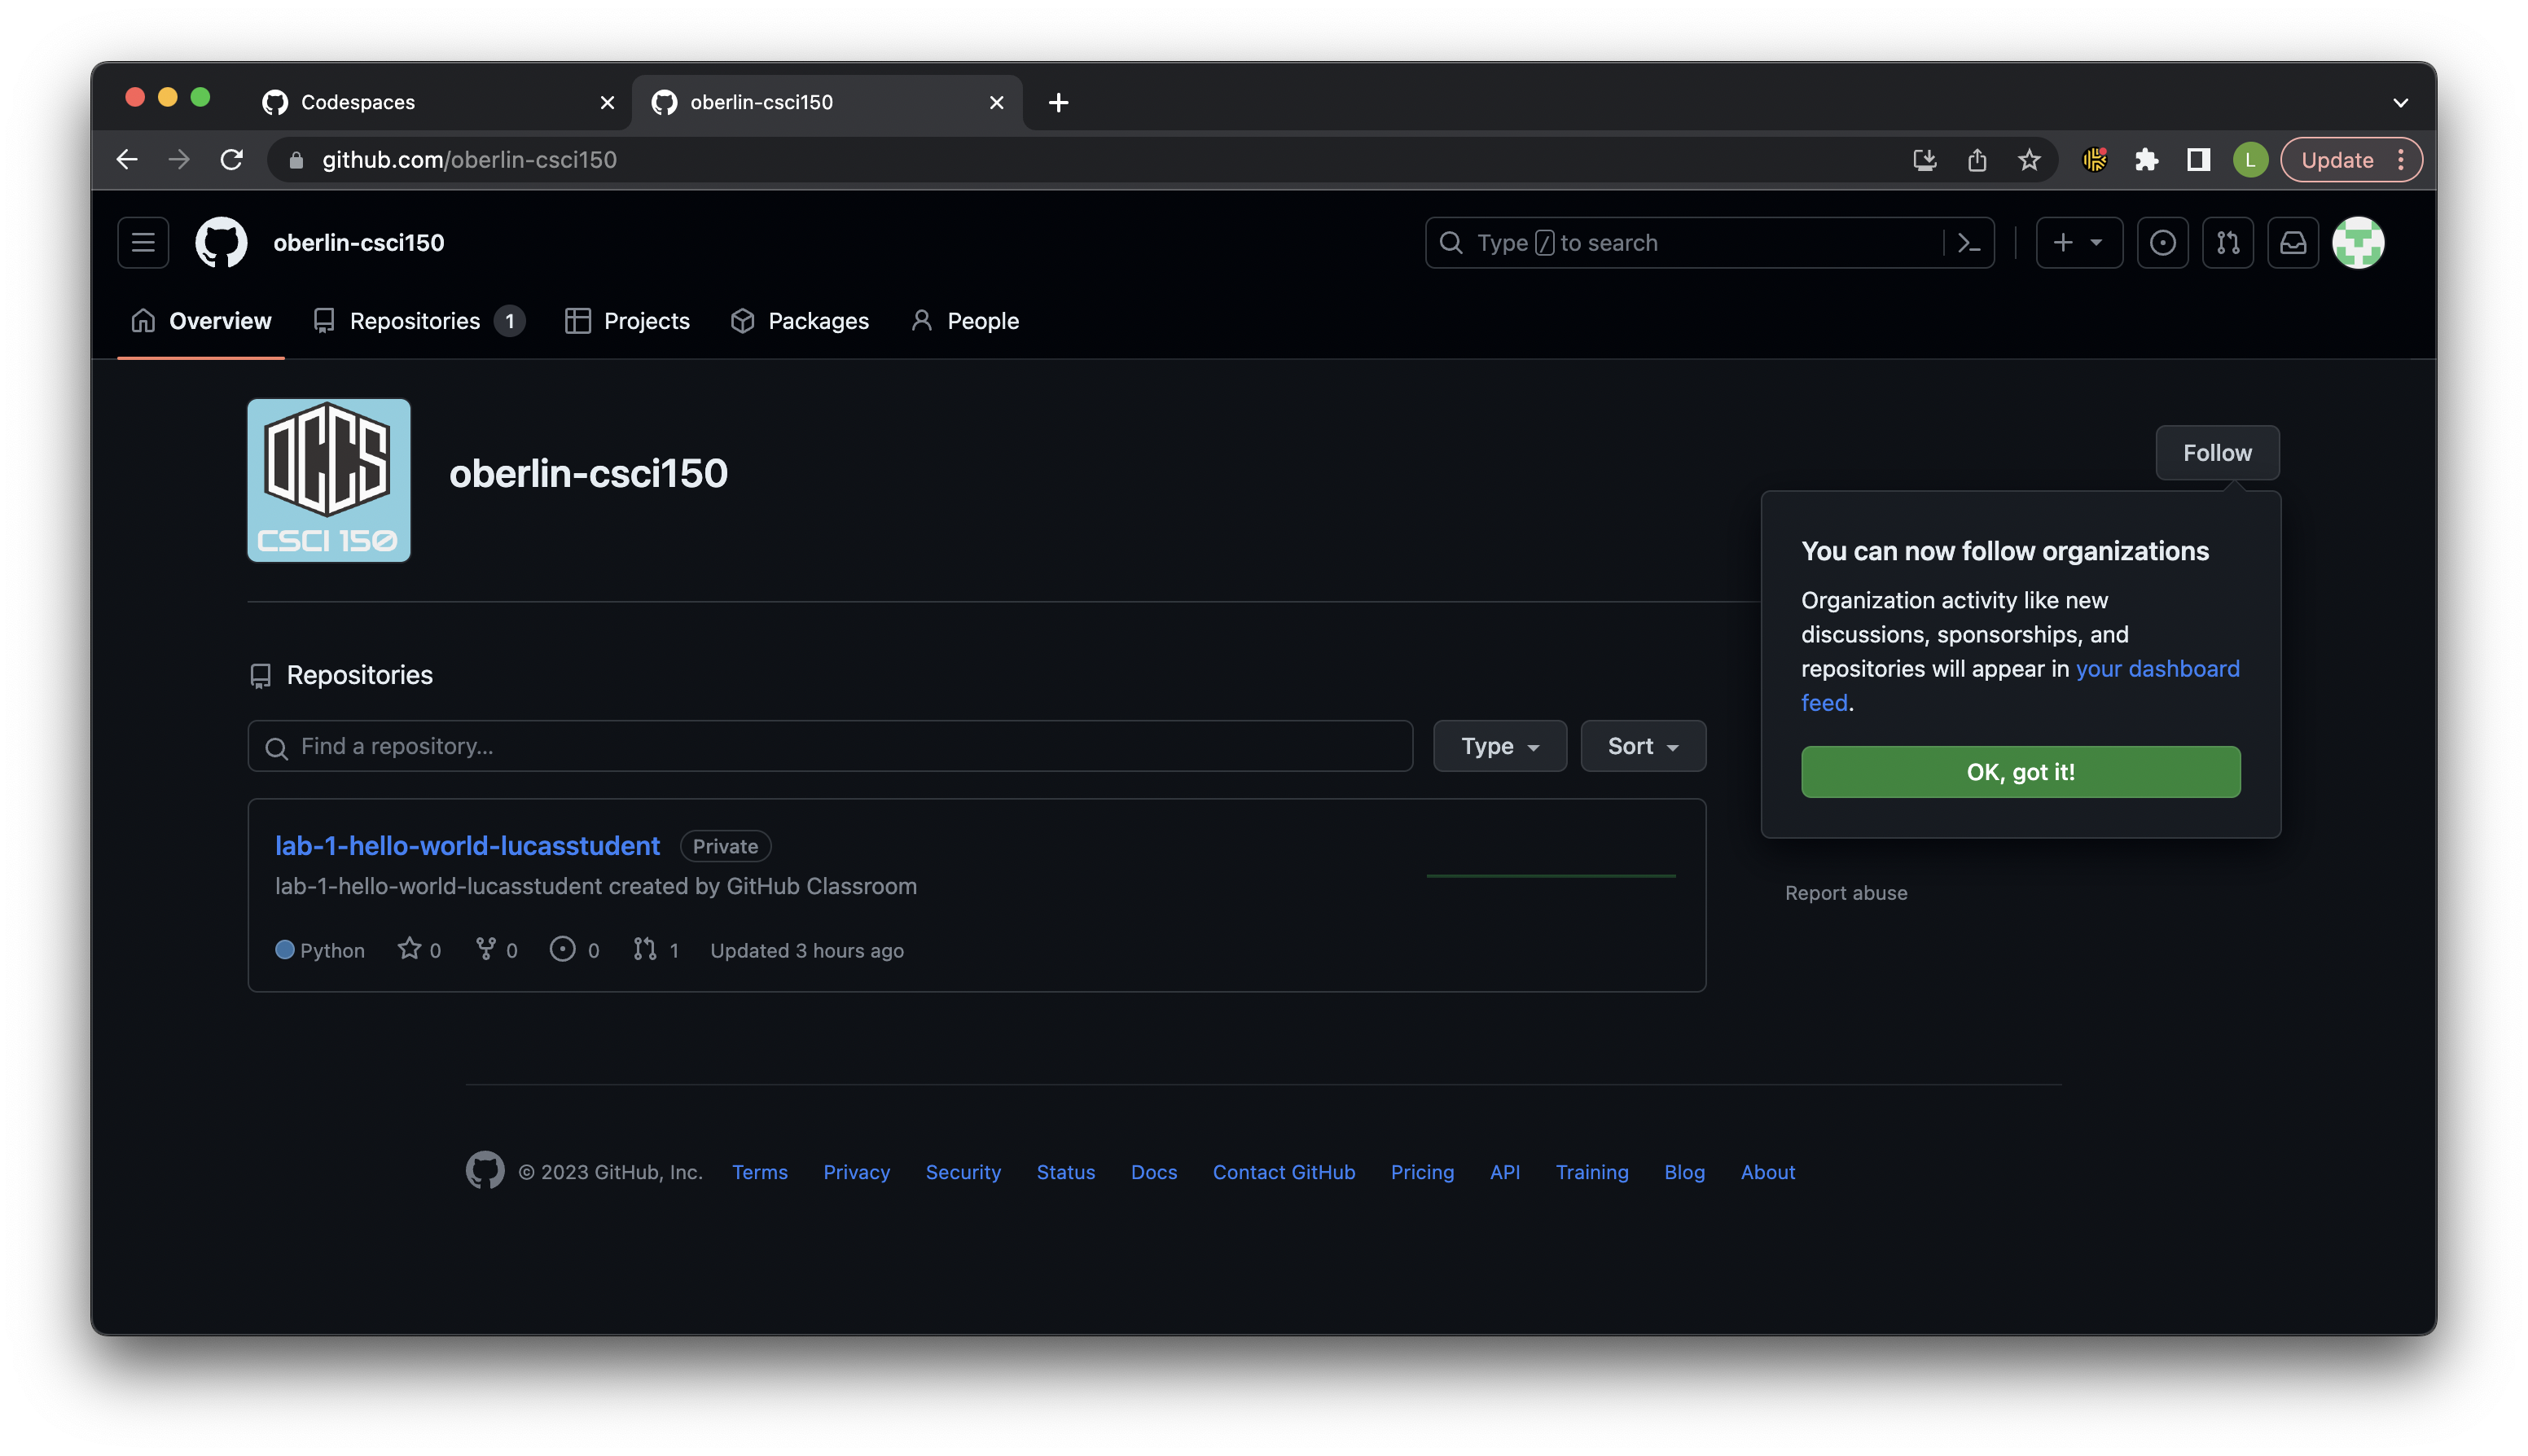
After clicking on the Lab 1 row, you should see your Lab 1 repository again.
In CSCI 150, we’ll be using GitHub Codespaces as an integrated development environment. It’s “integrated” because it serves multiple roles as a file browser, content editor, and workspace for us to run programs and see what they output.
Here’s an analogy to help understand what we’ve seen so far: Think about documents you’ve typed up for other classes. You created and edited them in a word processor like Google Docs or Microsoft Word (development environment), and then saved them in a folder (repository) in your Google Drive or computer’s file system. What you’re seeing on the page in front of you is similar: it’s a list of files and folders that your instructors have created and uploaded to a shared space for you to work on.
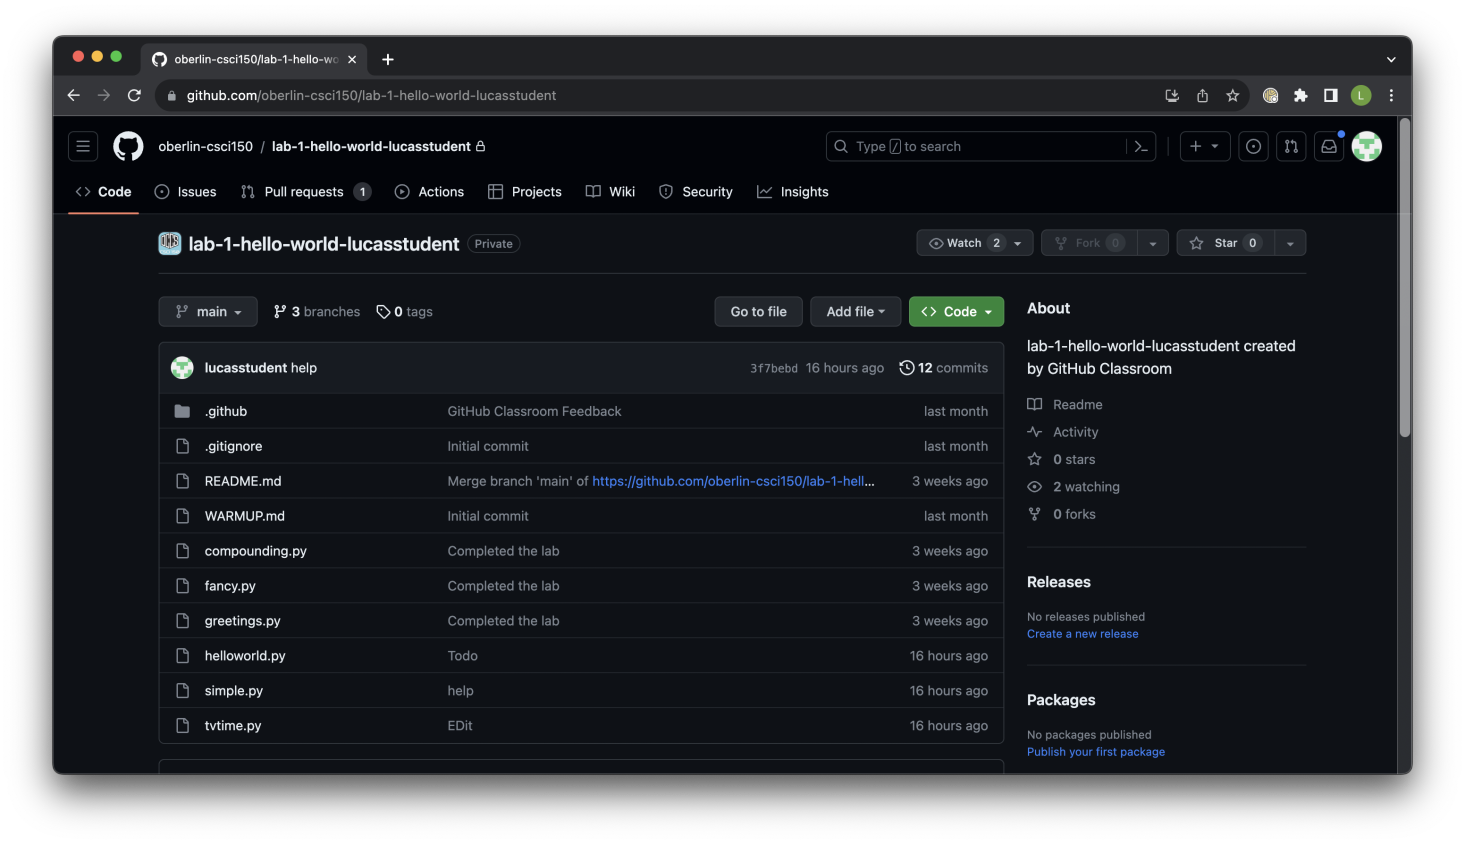
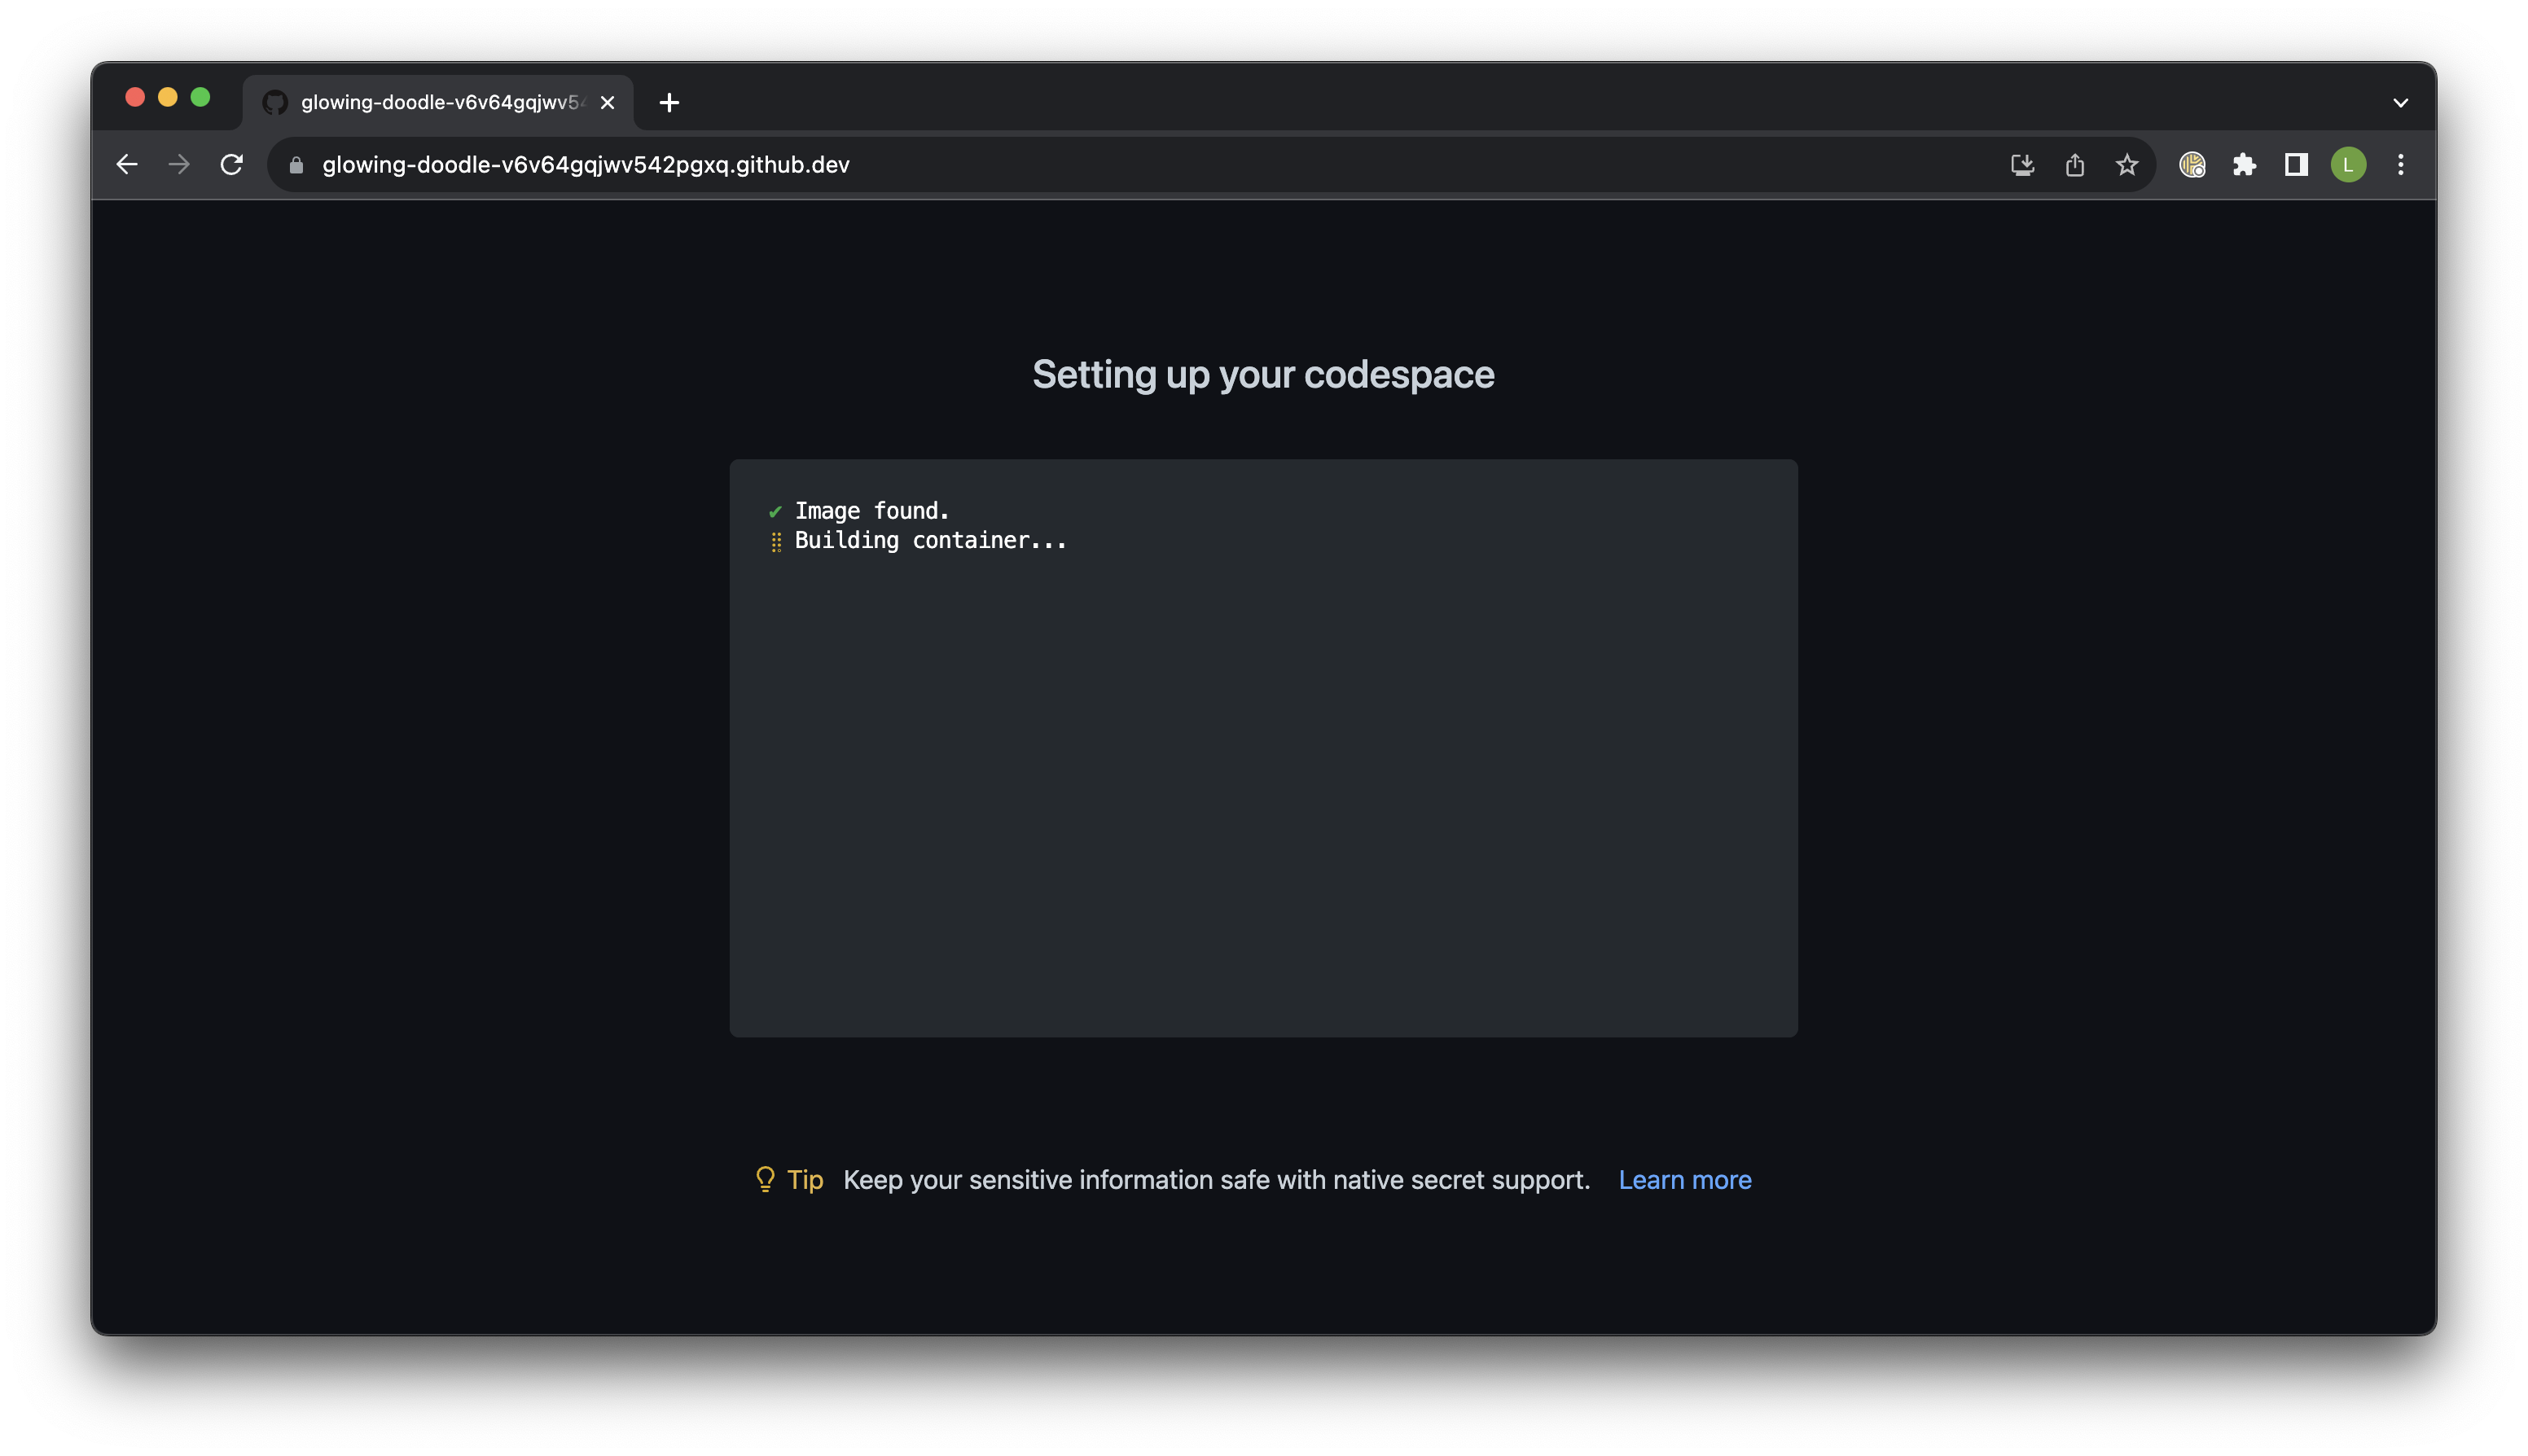
Click the green <> Code button on the repository page, and select the Codespaces option. Click “Create Codespace on main.” Heads up that creating a Codespace will take a longer amount of time than loading the previous pages, so this is a good time to take a water break or screen break before continuing with the rest of the warmup.
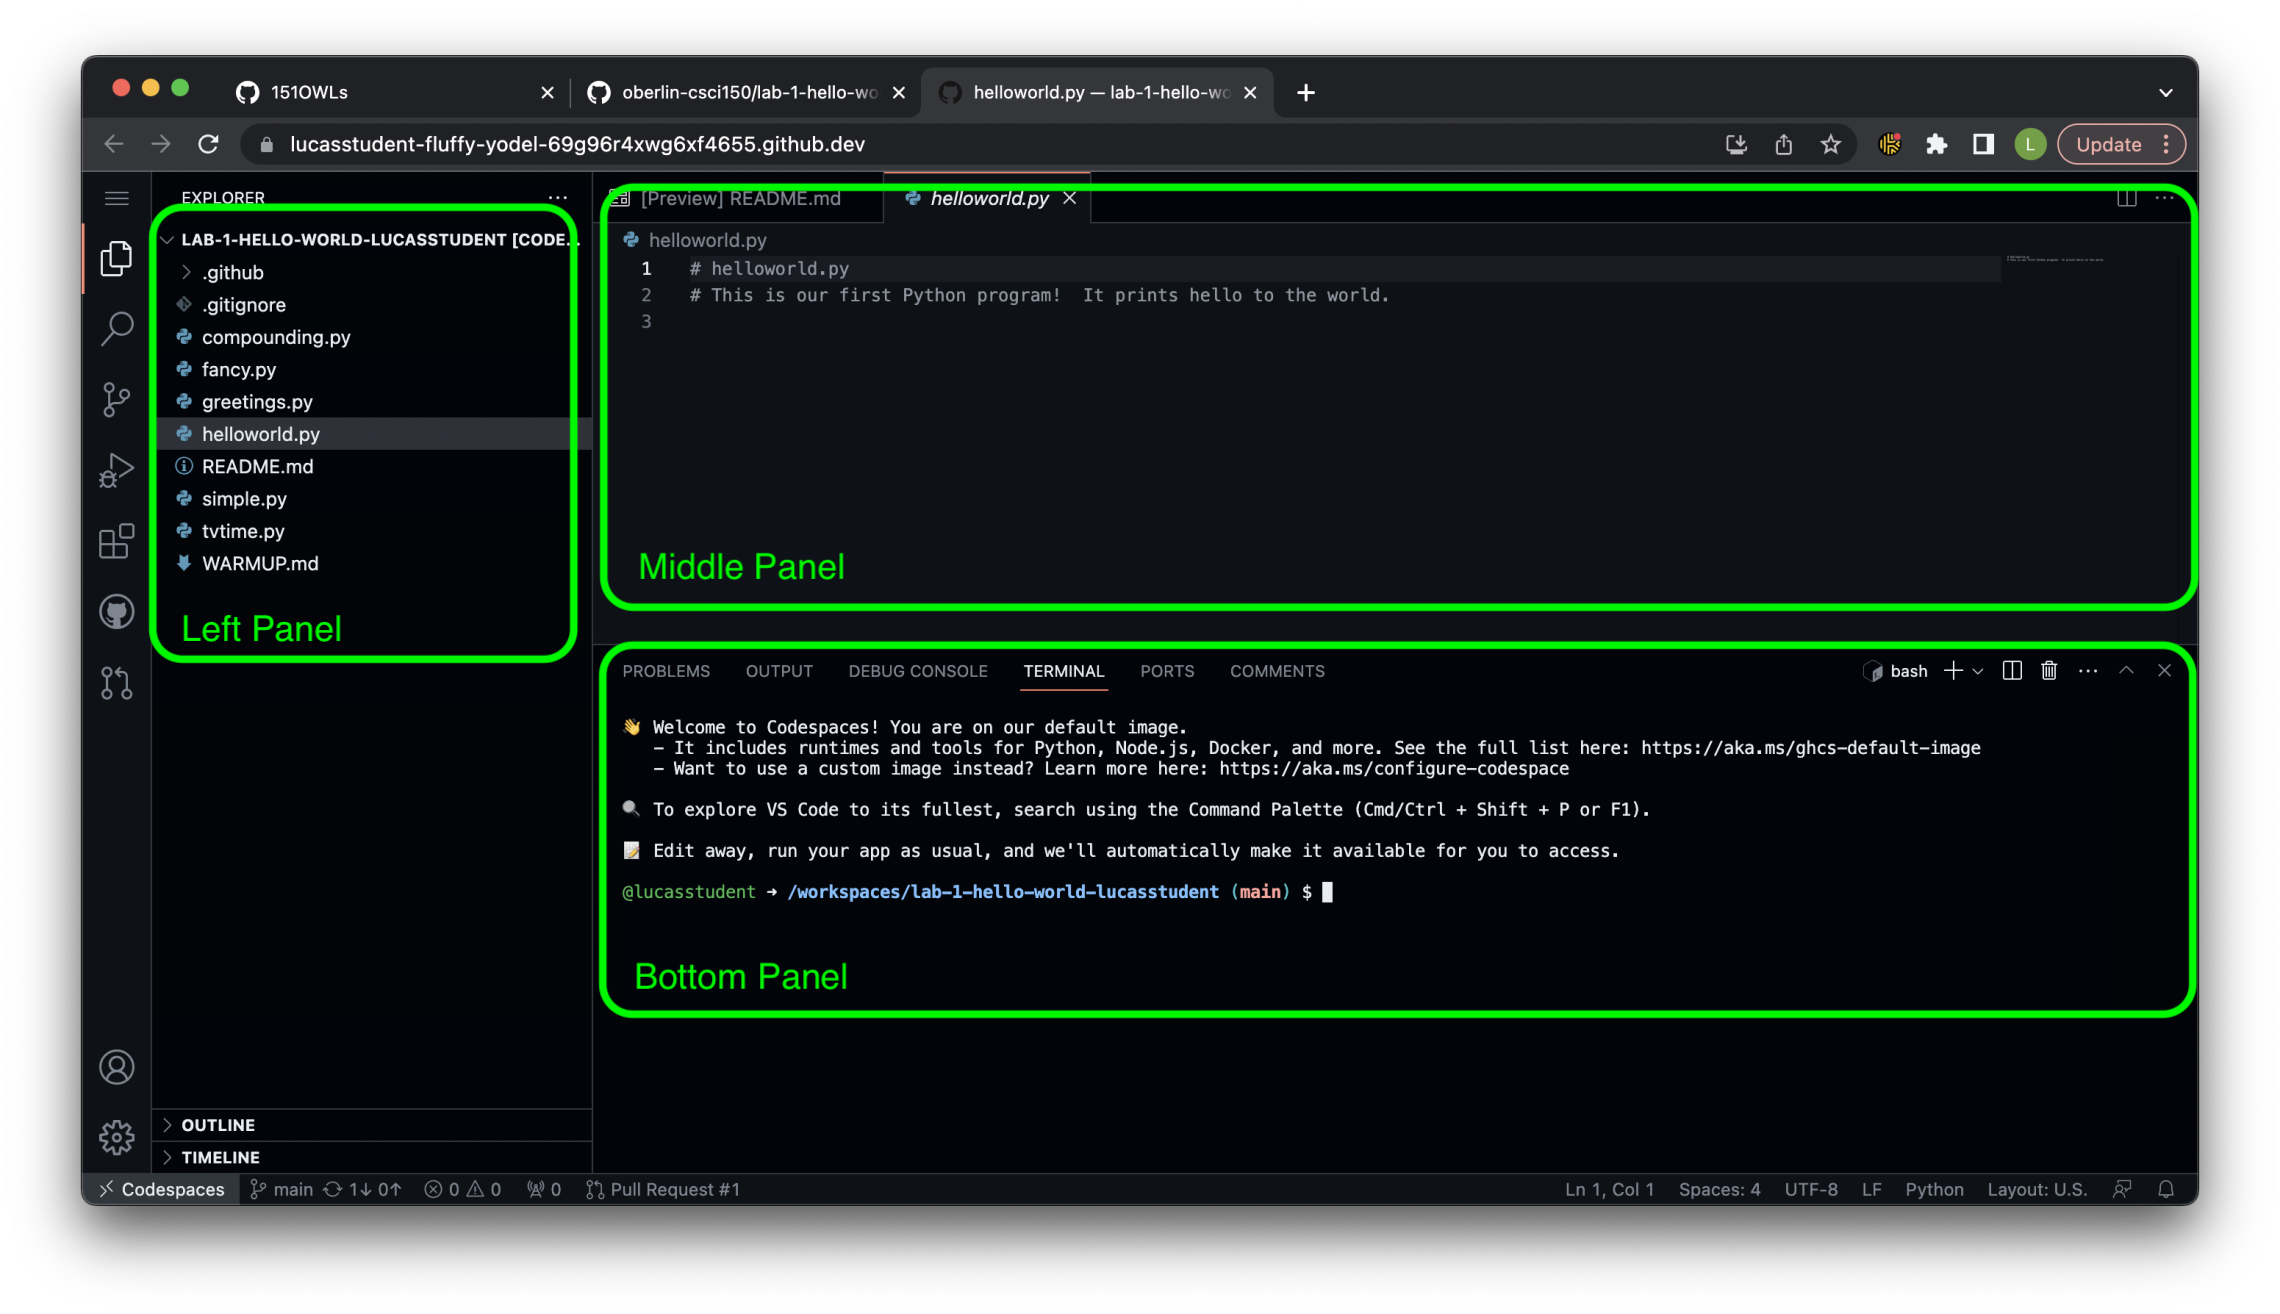
Alright! Let’s now take a look at some points of interest in the integrated development environment.
- Left Panel: The left sidebar’s “Explorer” section is a list of all of the files currently in the assignment repository. These are the files your instructors have provided in advance for you to fill in individual responses to. We’ll refer to these premade materials as starter code throughout the semester.
- Middle Panel: The middle section of the screen is the code editor. The editor displays the code for the file selected in the left panel. This is where you will do all of your programming (a.k.a. where the magic happens).
- Bottom Panel: The bottom section contains a handful of tabs – We’ll primarily be using the Terminal and eventually the Ports sections. The Terminal is where we will run all of our programs. To run a program, click in this section to activate a blinking cursor on the line with your username and the repository name, then type in the command
python3followed by the name of the program you want to run. The inputs and outputs of your program will show up underneath, as you’ll see in the next part of the warmup!
You may also notice that Visual Studio Code shows some pop-ups about extensions related to the Python programming language – This is an optional feature and won’t affect your lab submissions for CSCI 150, so feel free to hit OK or ignore.
Part B: (Likely) Your First Python Program
For your first program, you’re going to continue a ritual that has been around since the early 1970’s – starting to explore a programming language by first creating a program that prints the phrase “Hello, World!” to the screen.
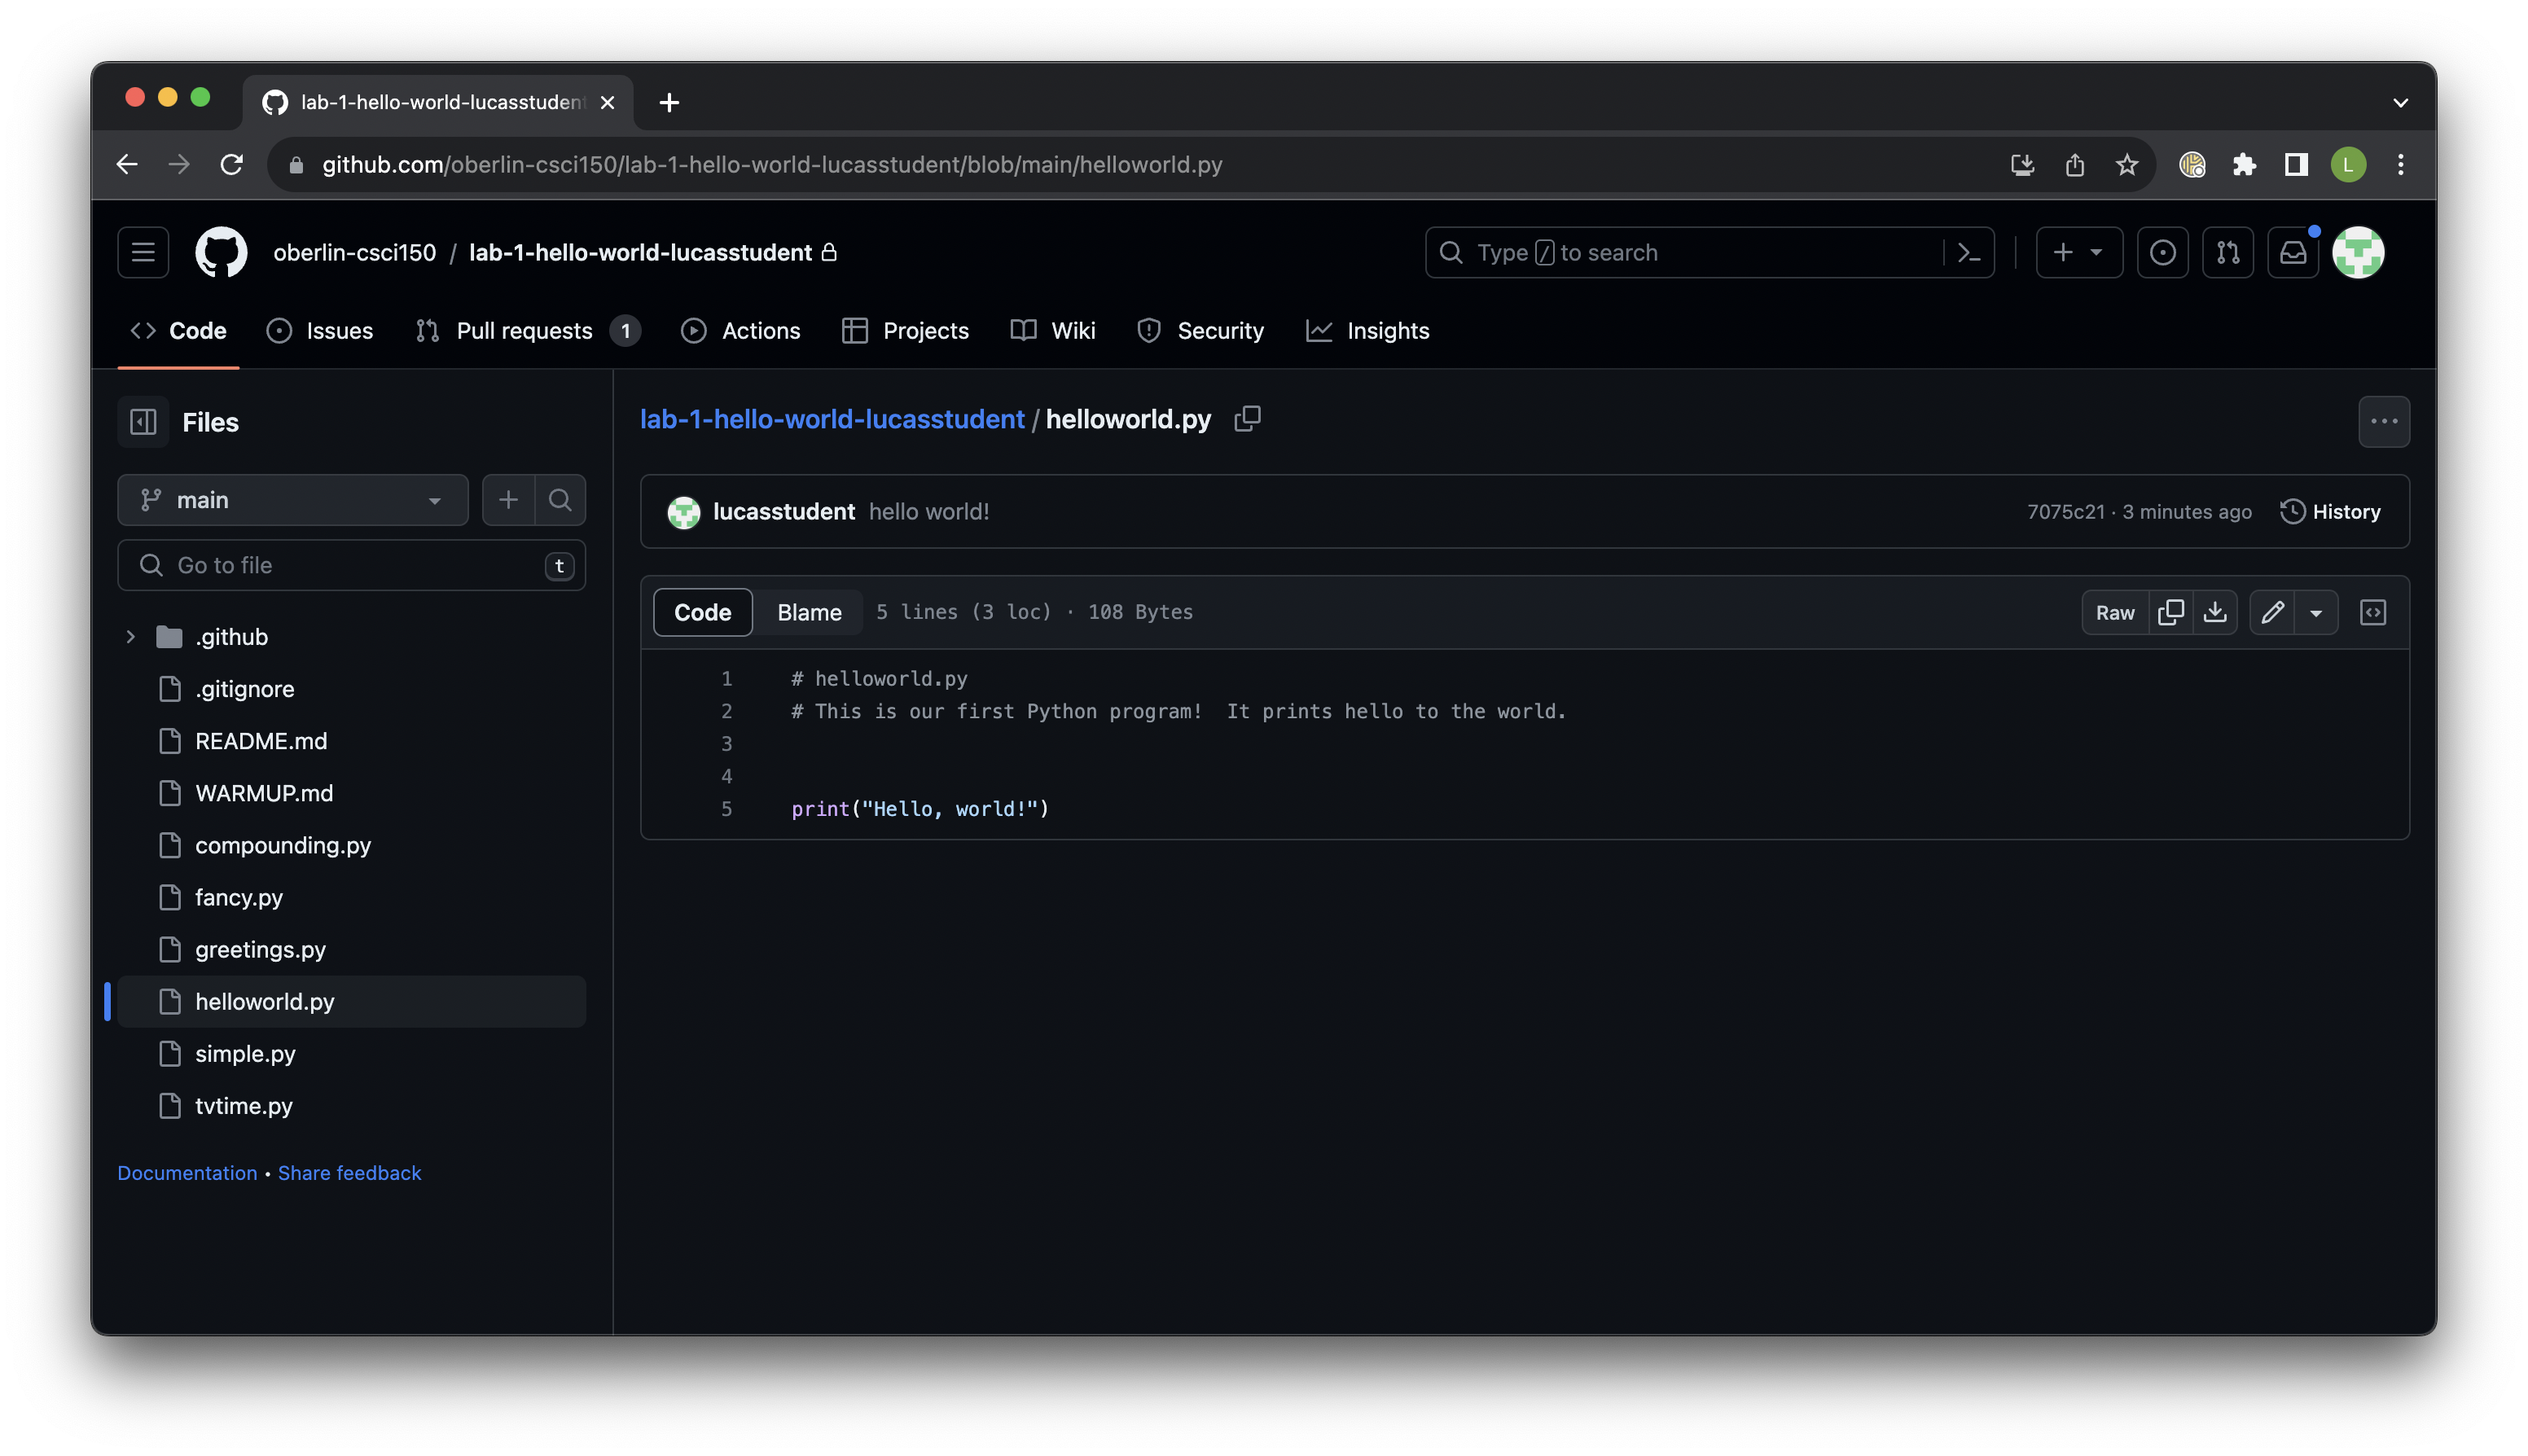
Open the helloworld.py file in left panel’s “Explorer” section. The lines beginning with a # are comments, which means they are additional notes for communication among human programmers but the computer ignores them when executing the program. Type in the print statement as shown below:
# helloworld.py
# This is our first Python program!  It prints hello to the world.

print("Hello, World!")
To run the program, select the bottom panel’s Terminal, type the following, and then hit the “Enter” key on your keyboard.
python3 helloworld.py
ReadMe
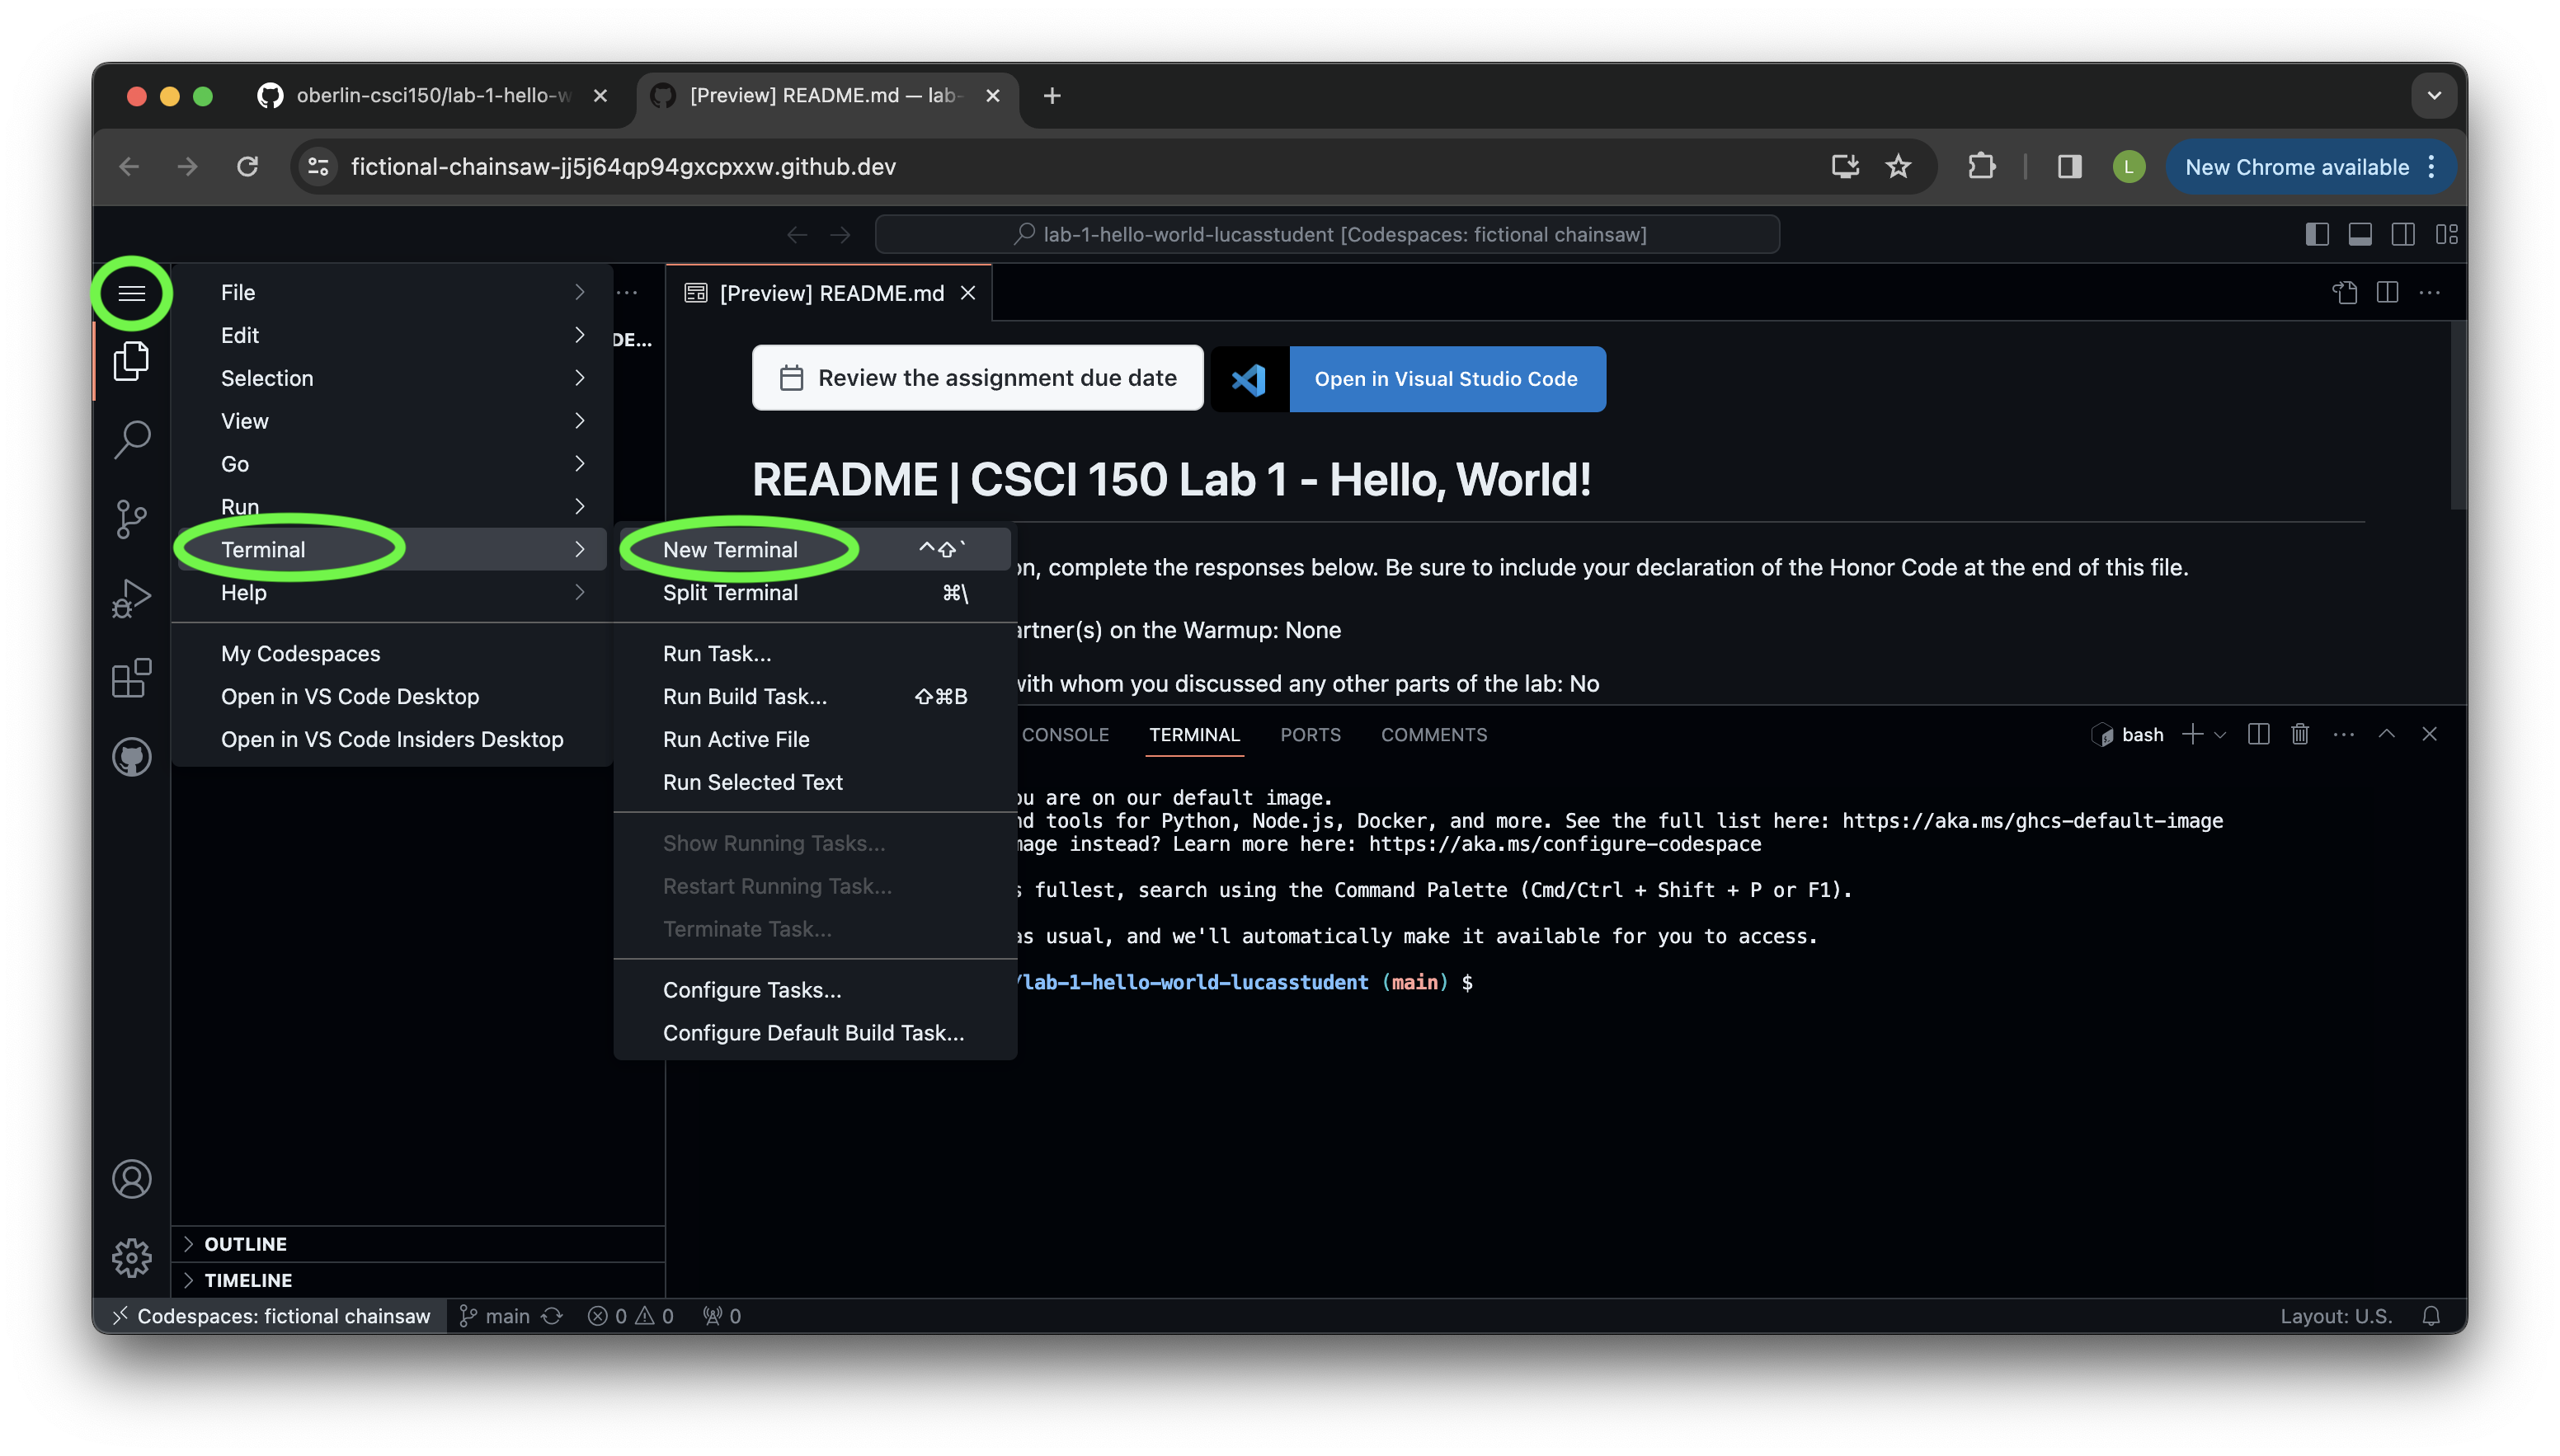
If you do not see the bottom panel do not panic! You can open a new terminal by clicking on hamburger menu, then clicking Terminal then clicking New Terminal.
What happened when you ran the program? Write up your notes for this exercise in WARMUP.md.
ReadMe
File extensions tell the computer what kind of file a specific file is. This can be useful for many reasons, including knowing what application to use to open the file, what kind of data it contains, how to run it, or if it needs extra software to work! As an integrated development environment, Visual Studio Code will also offer autocomplete suggestions that are based on the file type.
Within CSCI 150 you will only work with files that end in .py and .md (and some images but we won’t worry about those right now). .py files are python files, which as we said before, we run by typing python3 before our file name. .md files are markdown files, which are text files, like a word document. You won’t ever need to run them in the terminal.
Part C: Saving Your Work
Great job writing and running your first program! Let’s talk about how saving and submitting lab assignments happens in CSCI 150. This is part of an important skill in computer science and software engineering called version control. In a nutshell, version control is about tracking and managing changes to code over time, so programmers can make changes and revert back to earlier versions if the new changes don’t work out. It’s the same concept as saving drafts of an essay, book, or any other creative work that is edited over an extended period of time.
When your open up Codespaces, Github automatically creates working copies of all the files in your repository so you can edit them without affecting the repository. Codespaces will autosave changes to these copies as long as you have a stable internet connection, which is convenient for the short-term. However, this autosave does not save your edits back to the GitHub repository long-term.
To save your updates back to your repository, you’ll need to both make a commit of the current version of your code and then push that code to the GitHub repository. Fortunately, GitHub Codespaces has a convenient panel for this workflow.
Let’s commit and push your updated helloworld.py file to the repository.
- On the left sidebar, navigate to the Source Control section of the Left Panel by clicking the icon that looks like a branching tree.
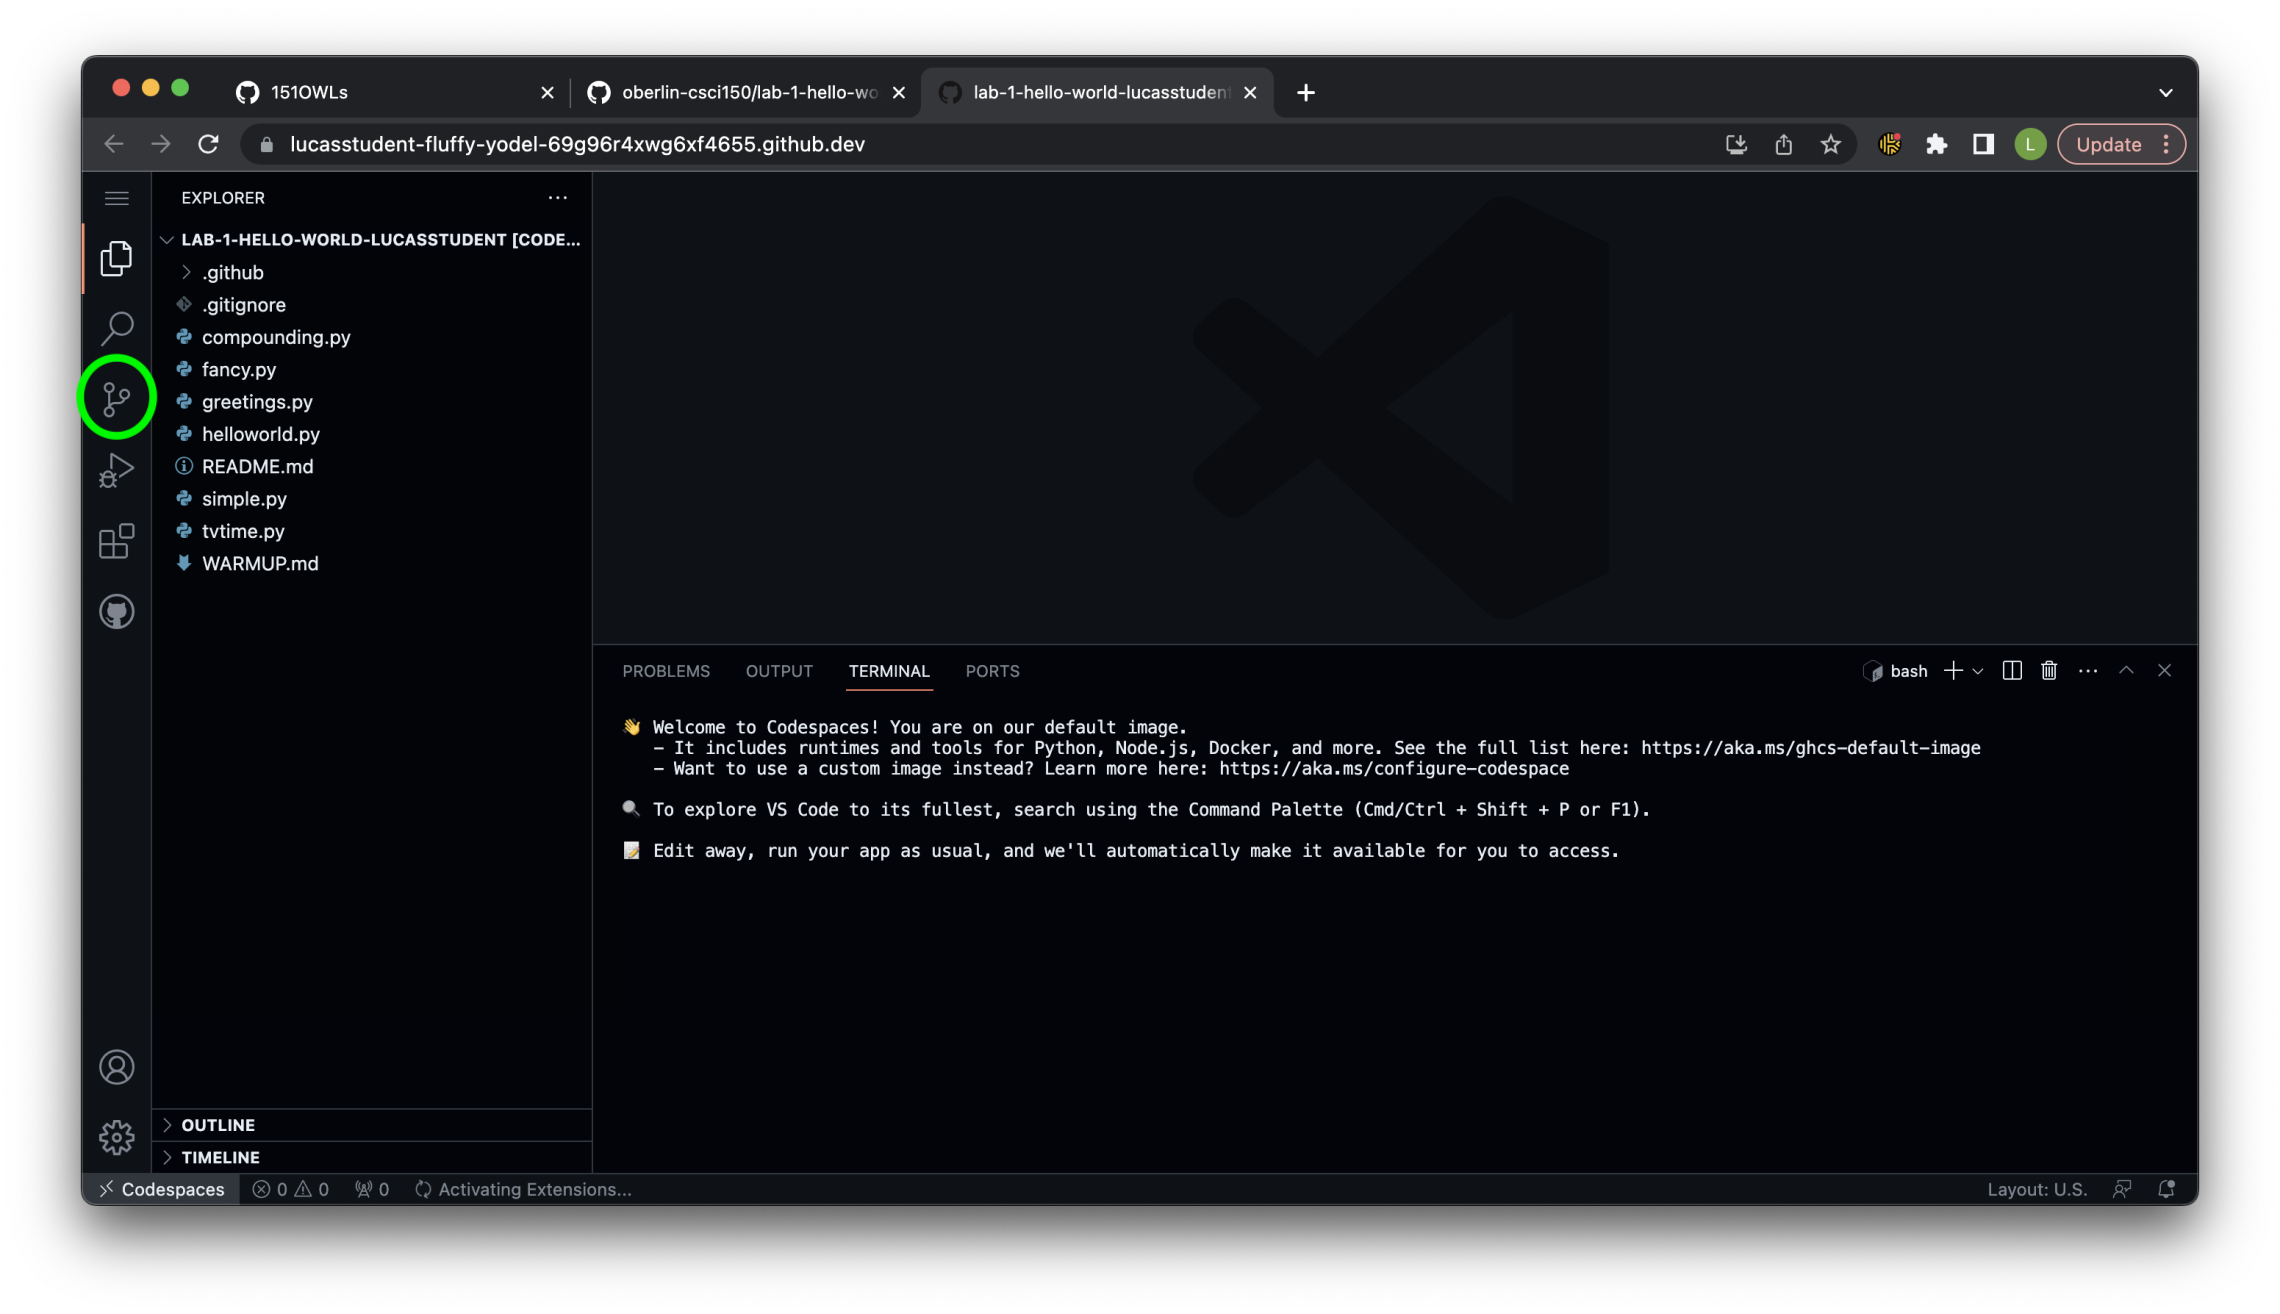
- Notice the Changes list that appears shows all the files that have been edited since the previous commit.
- To “stage” the changes (i.e. mark which ones we want to commit), click the + icon that appears when you hover your mouse over the Changes line. This will add all of the edited files to the new version of the code you’re about to save.
- Type a self-explanatory message in the text box that highlights what was changed in this version. Something along the lines of “Hello, World!” or “Warmup Part D” sounds good to us. Make sure you always put a message in the box.
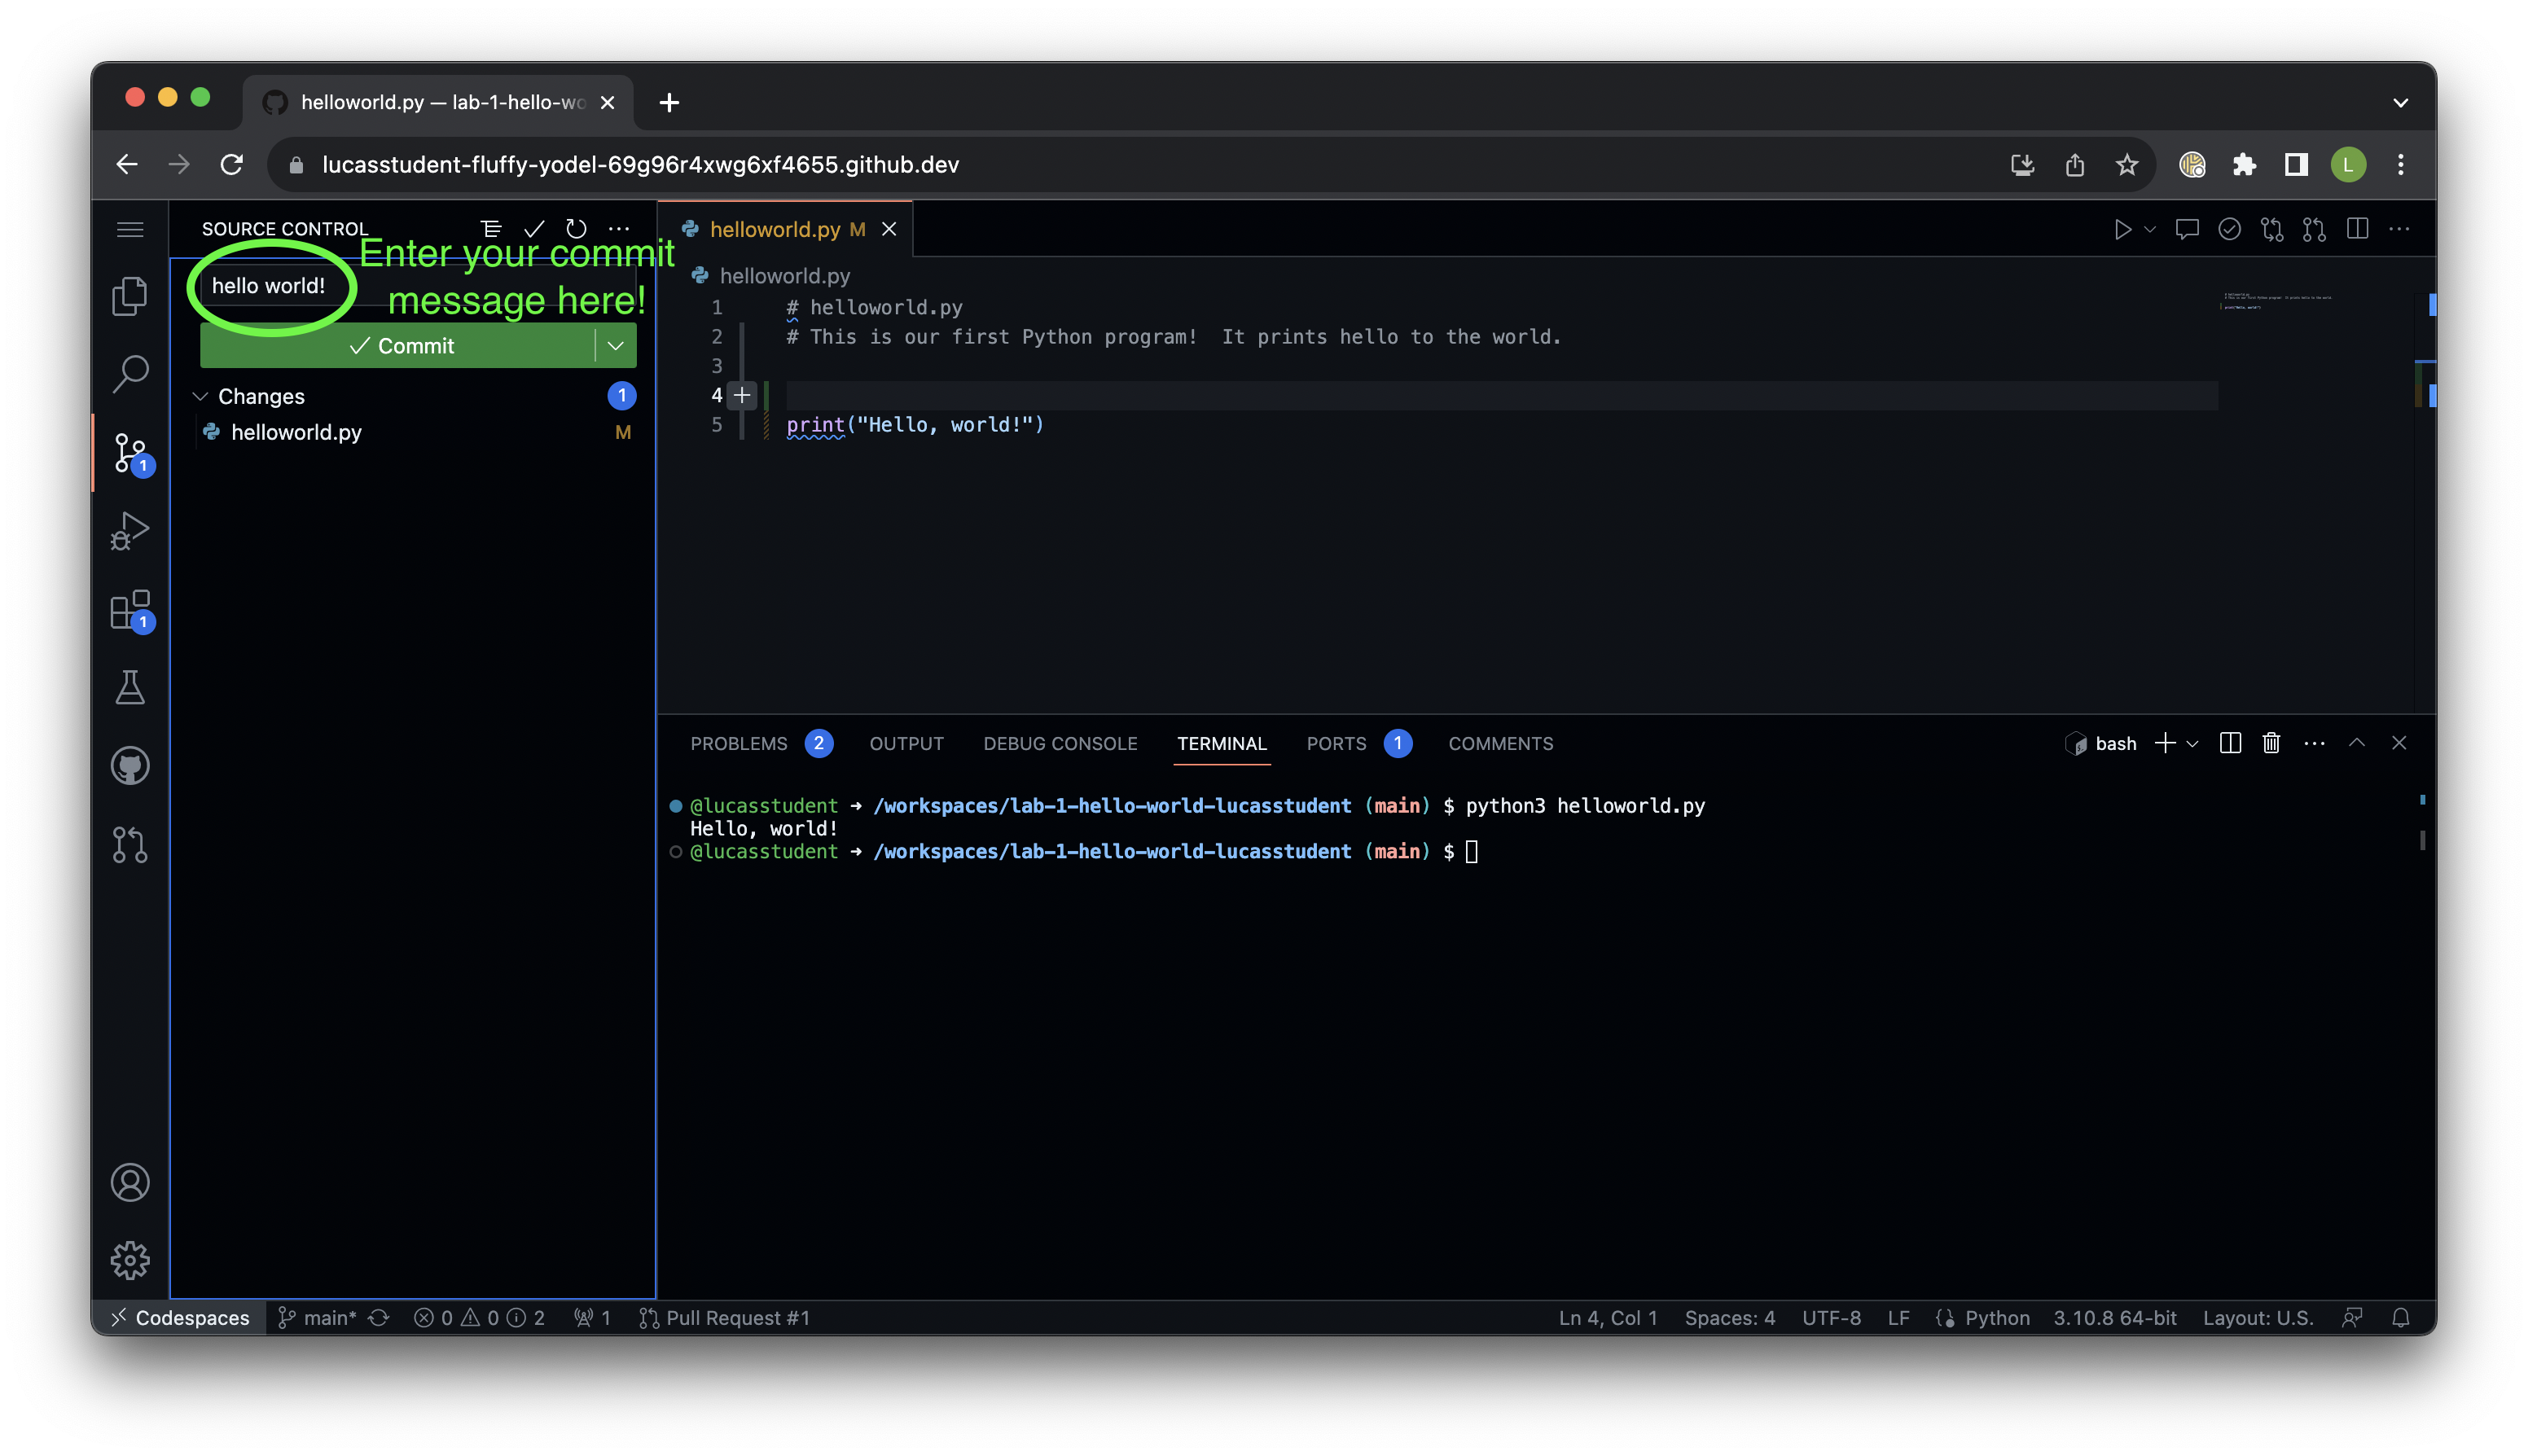
- Click the ✔️ Commit button.
- If you forgot to put a commit message you will see a document open like the one below. Add your commit message at the very top of the page, and close the document. This will add the commit message to the commit and you can continue on as normal.
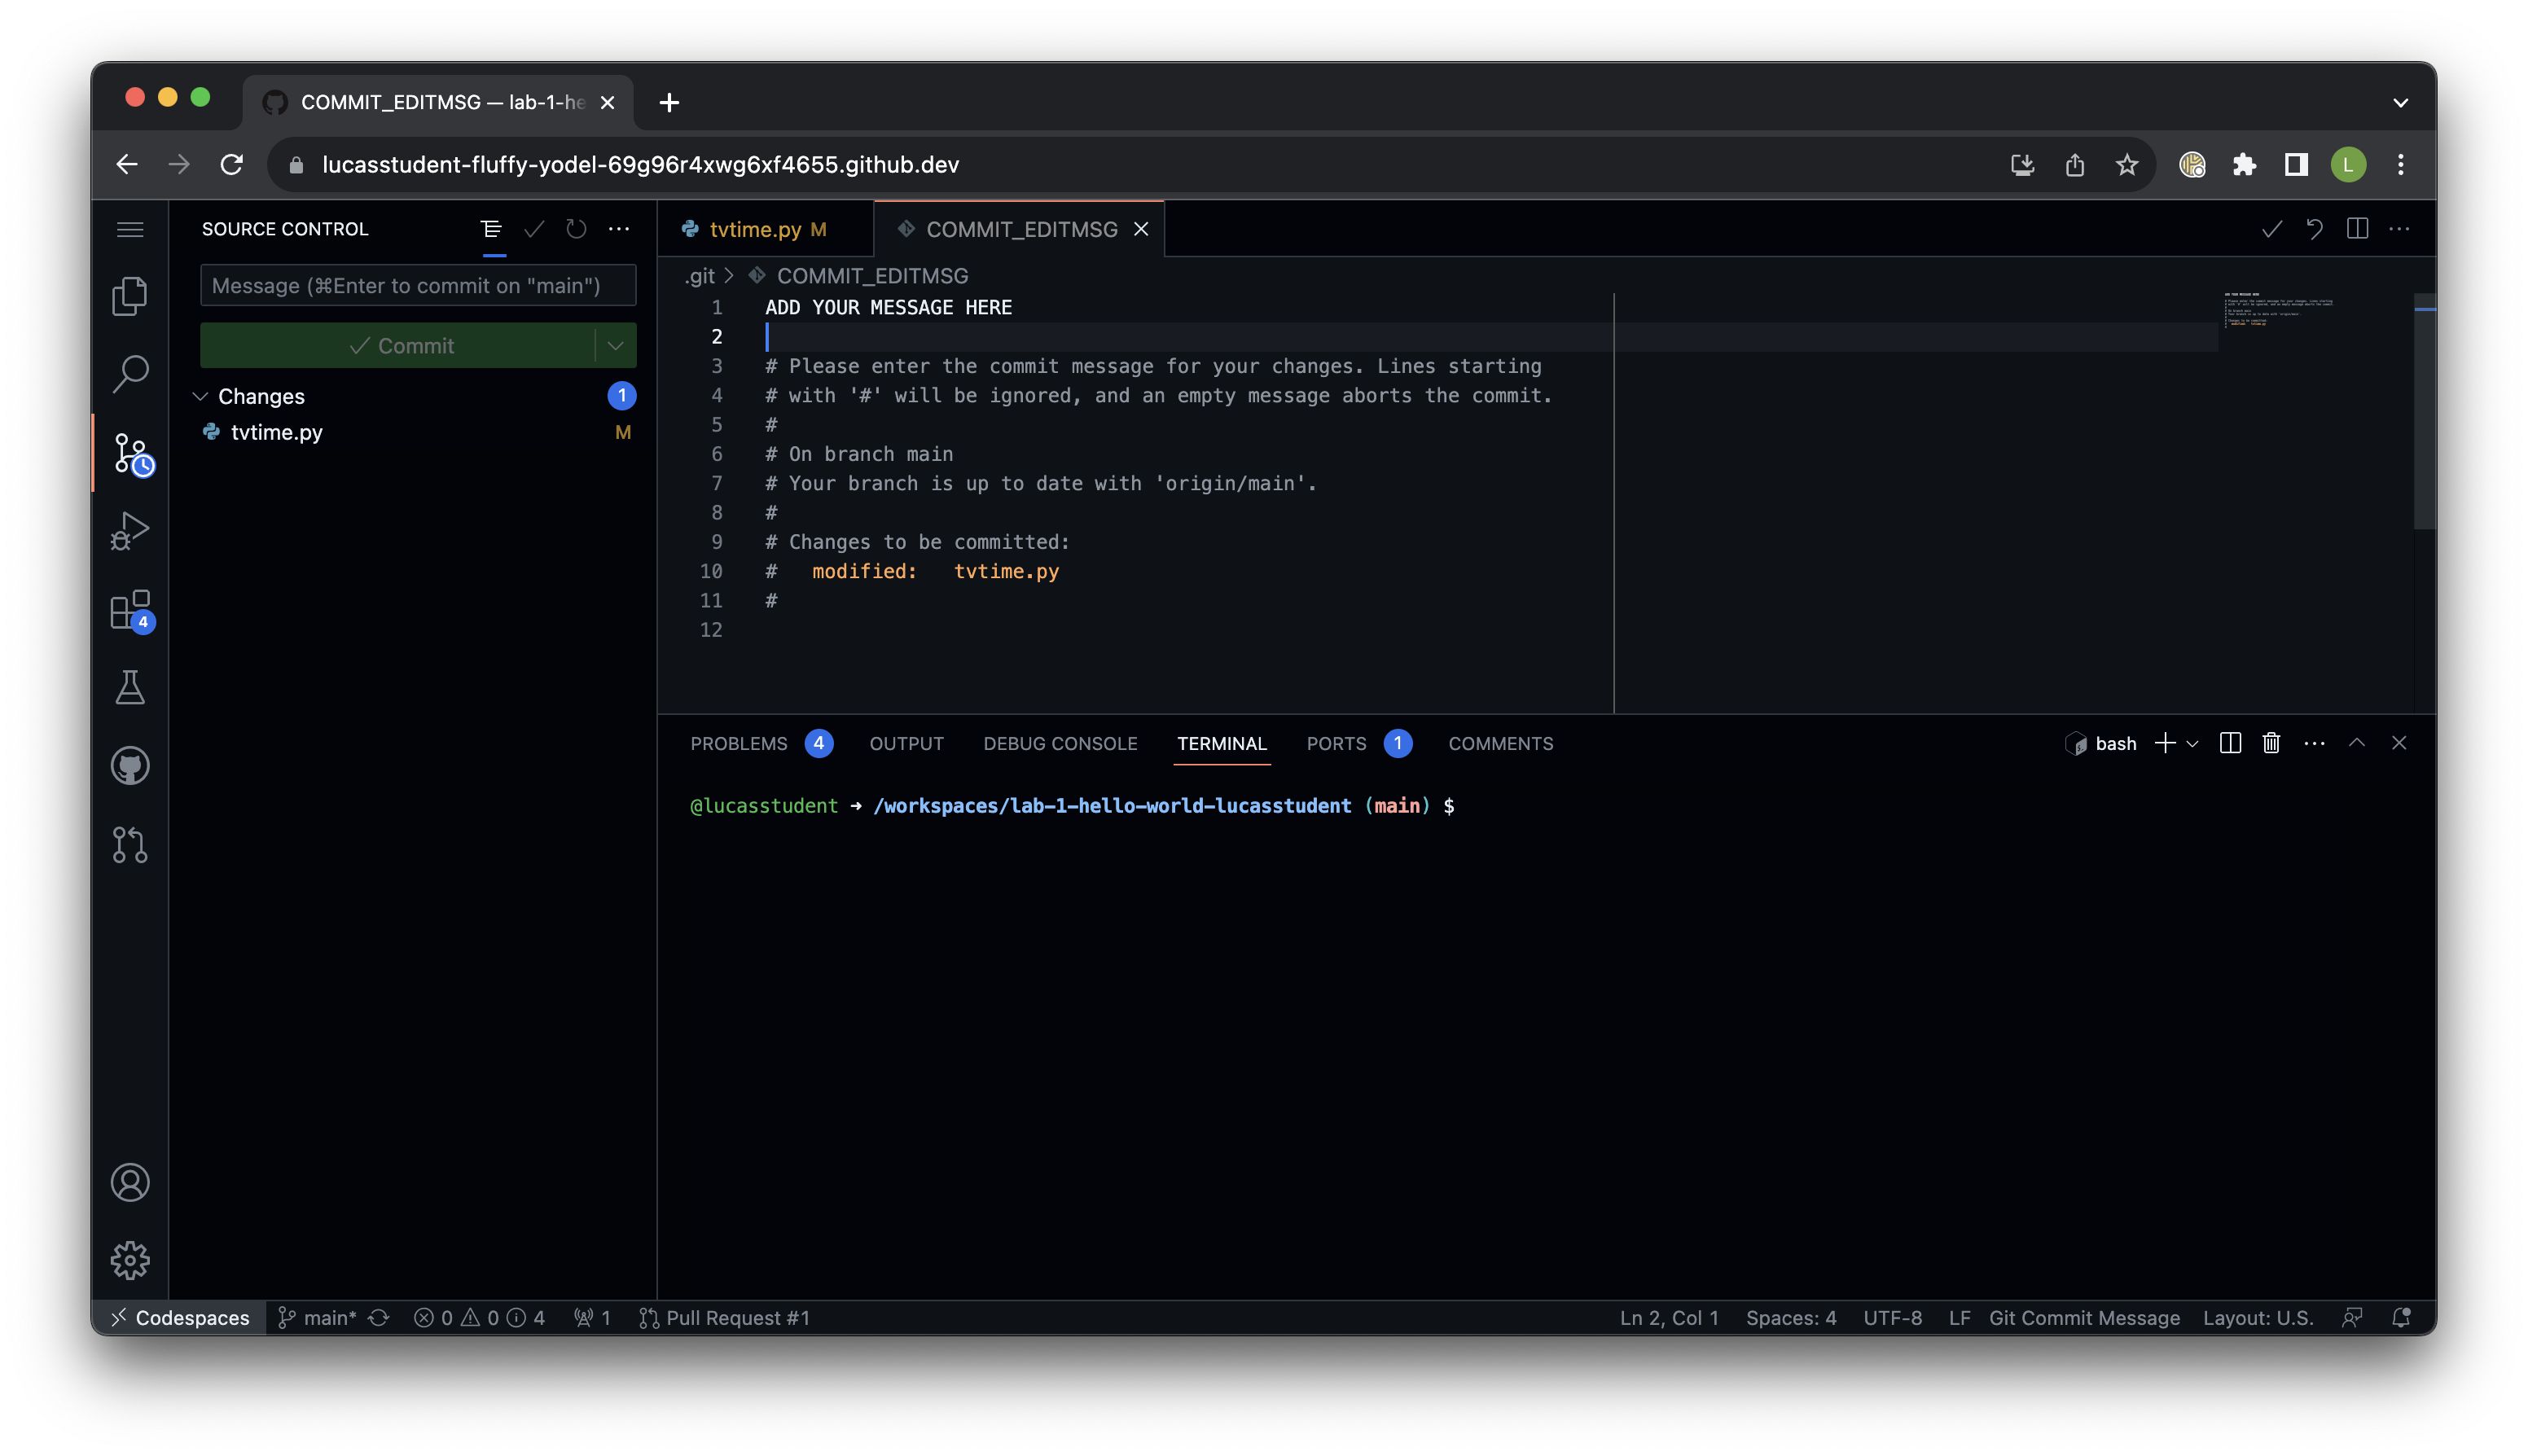
- If you forgot to put a commit message you will see a document open like the one below. Add your commit message at the very top of the page, and close the document. This will add the commit message to the commit and you can continue on as normal.
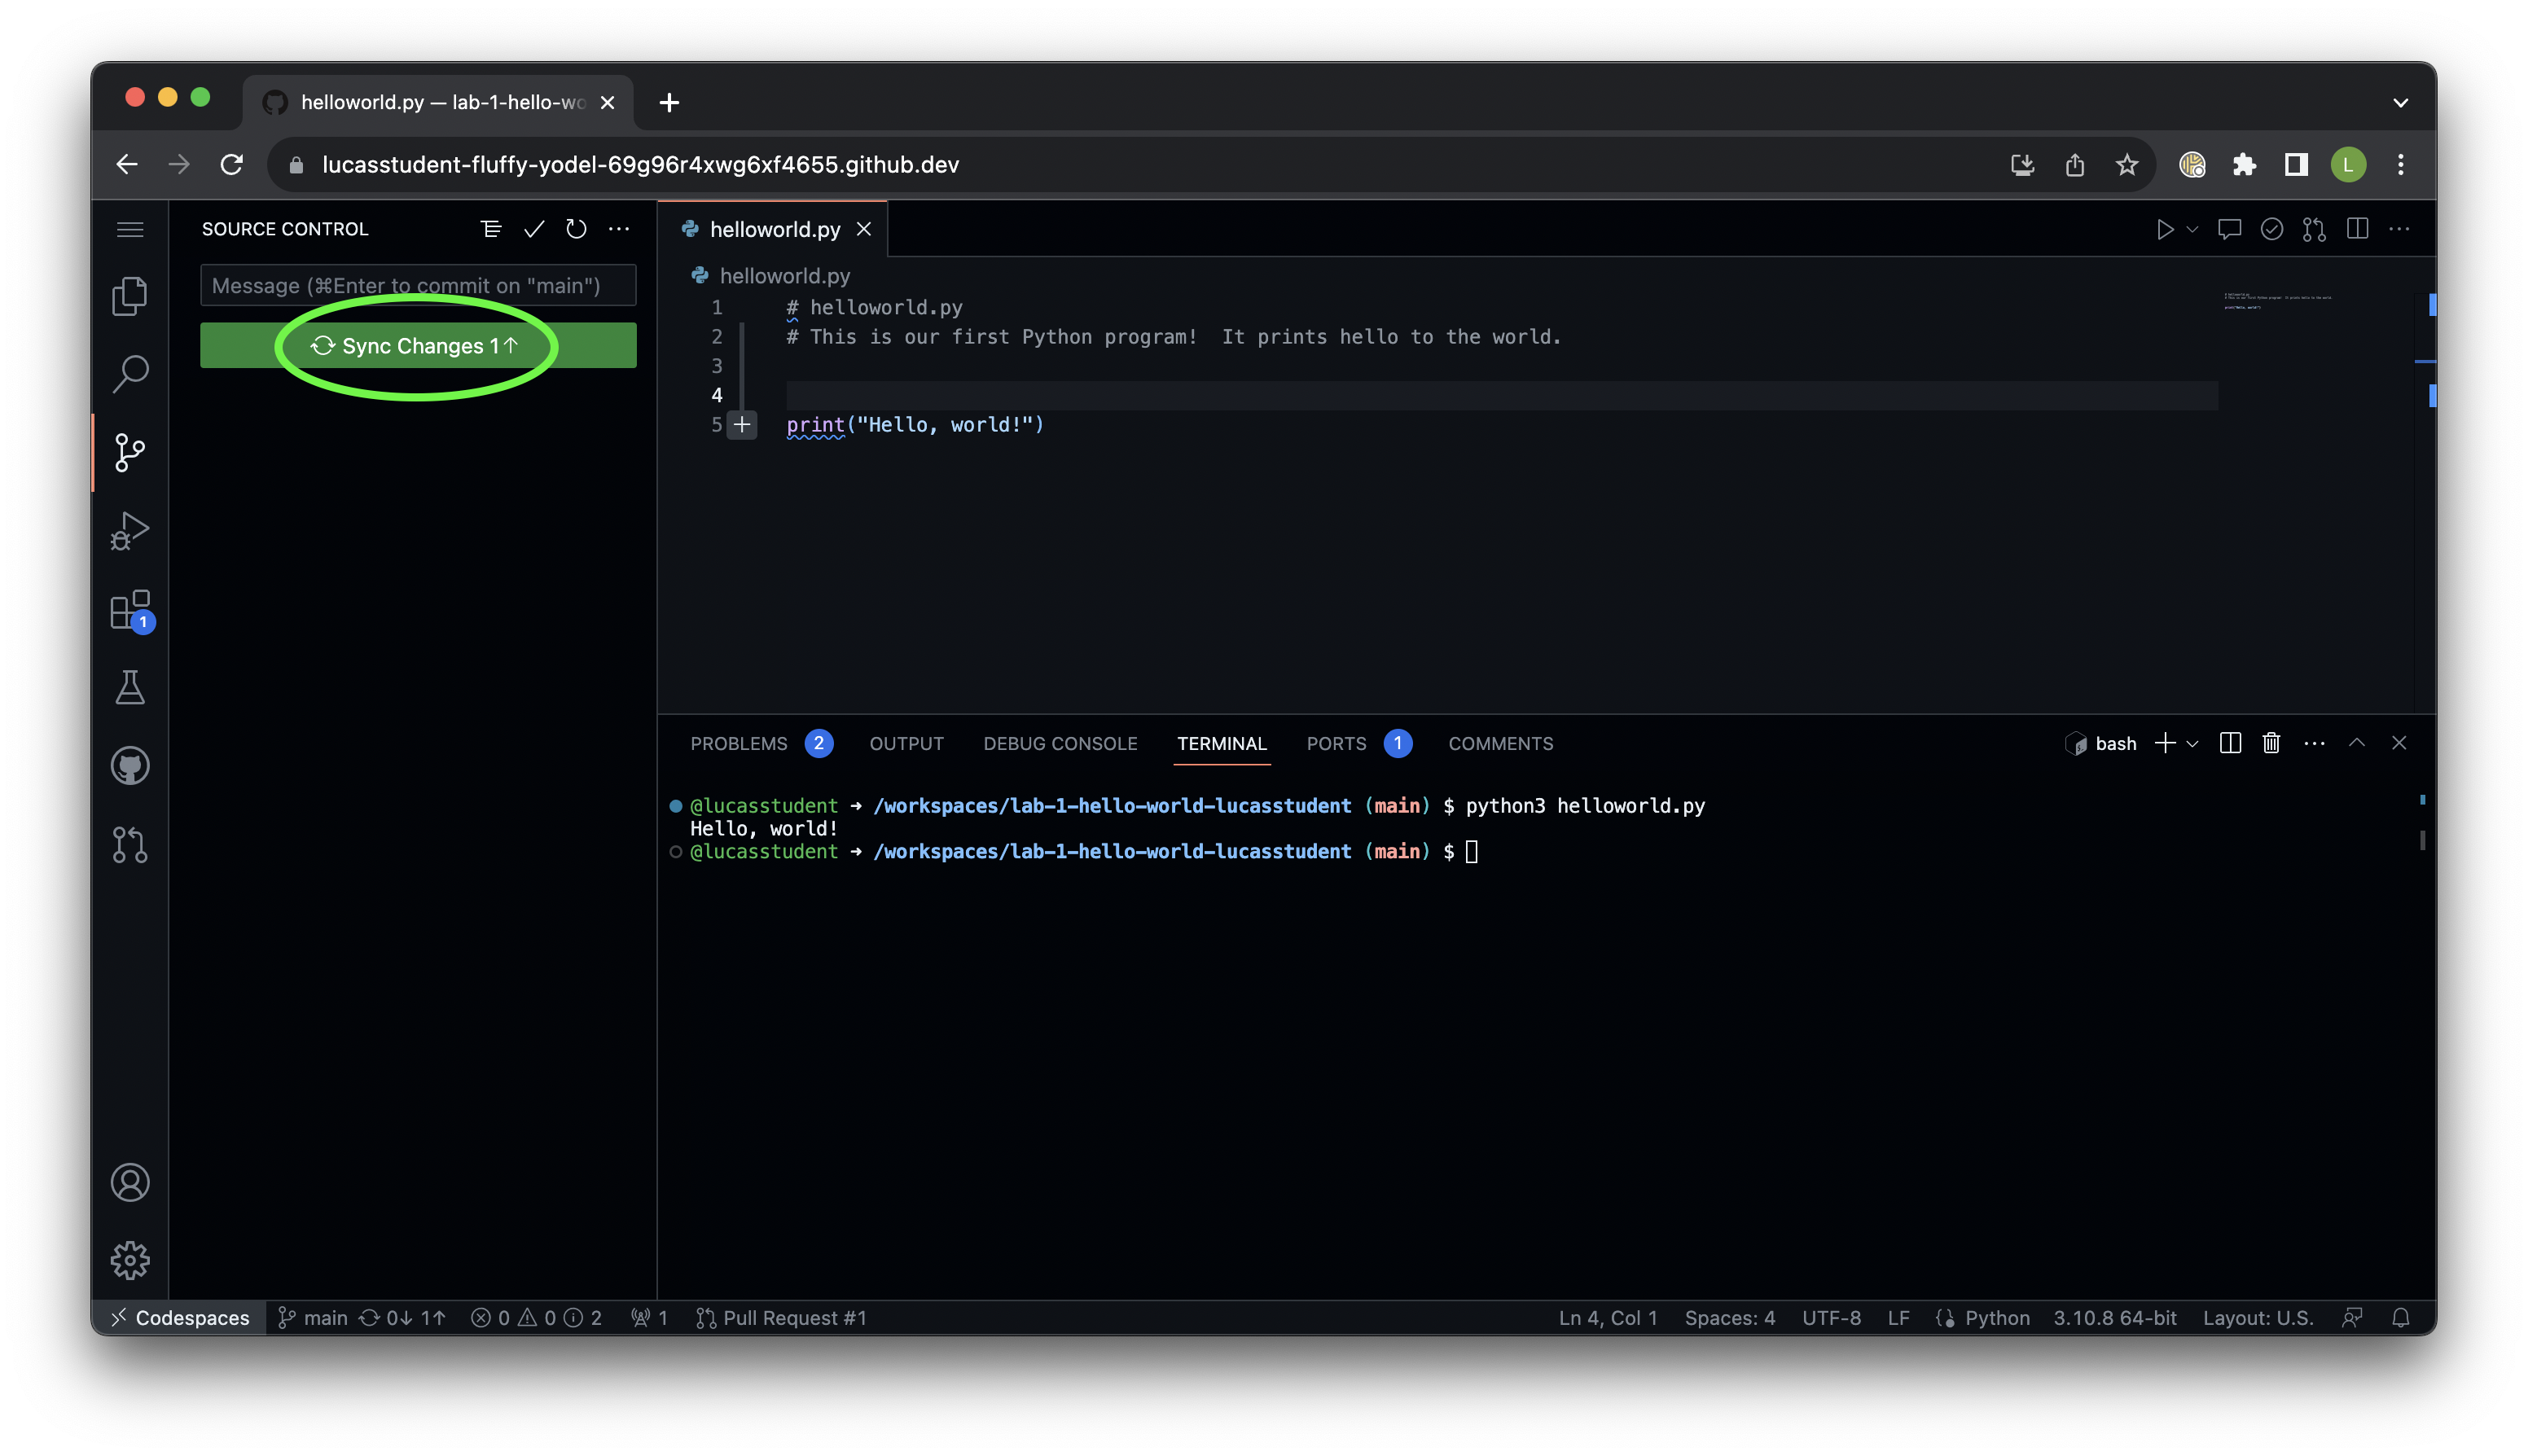
- Click the Sync Changes button to push your code online. Click OK to confirm you want to do this, if prompted.
- Let’s check that what we did in the Codespace worked. Switch to another browser tab with your repository. Next to the
helloworld.pyfile in the repository, you should see the message from the commit you made just now. You can also click into the file itself to view it on GitHub, which means that the teaching team will also be able to see it when they grade your work. Yay!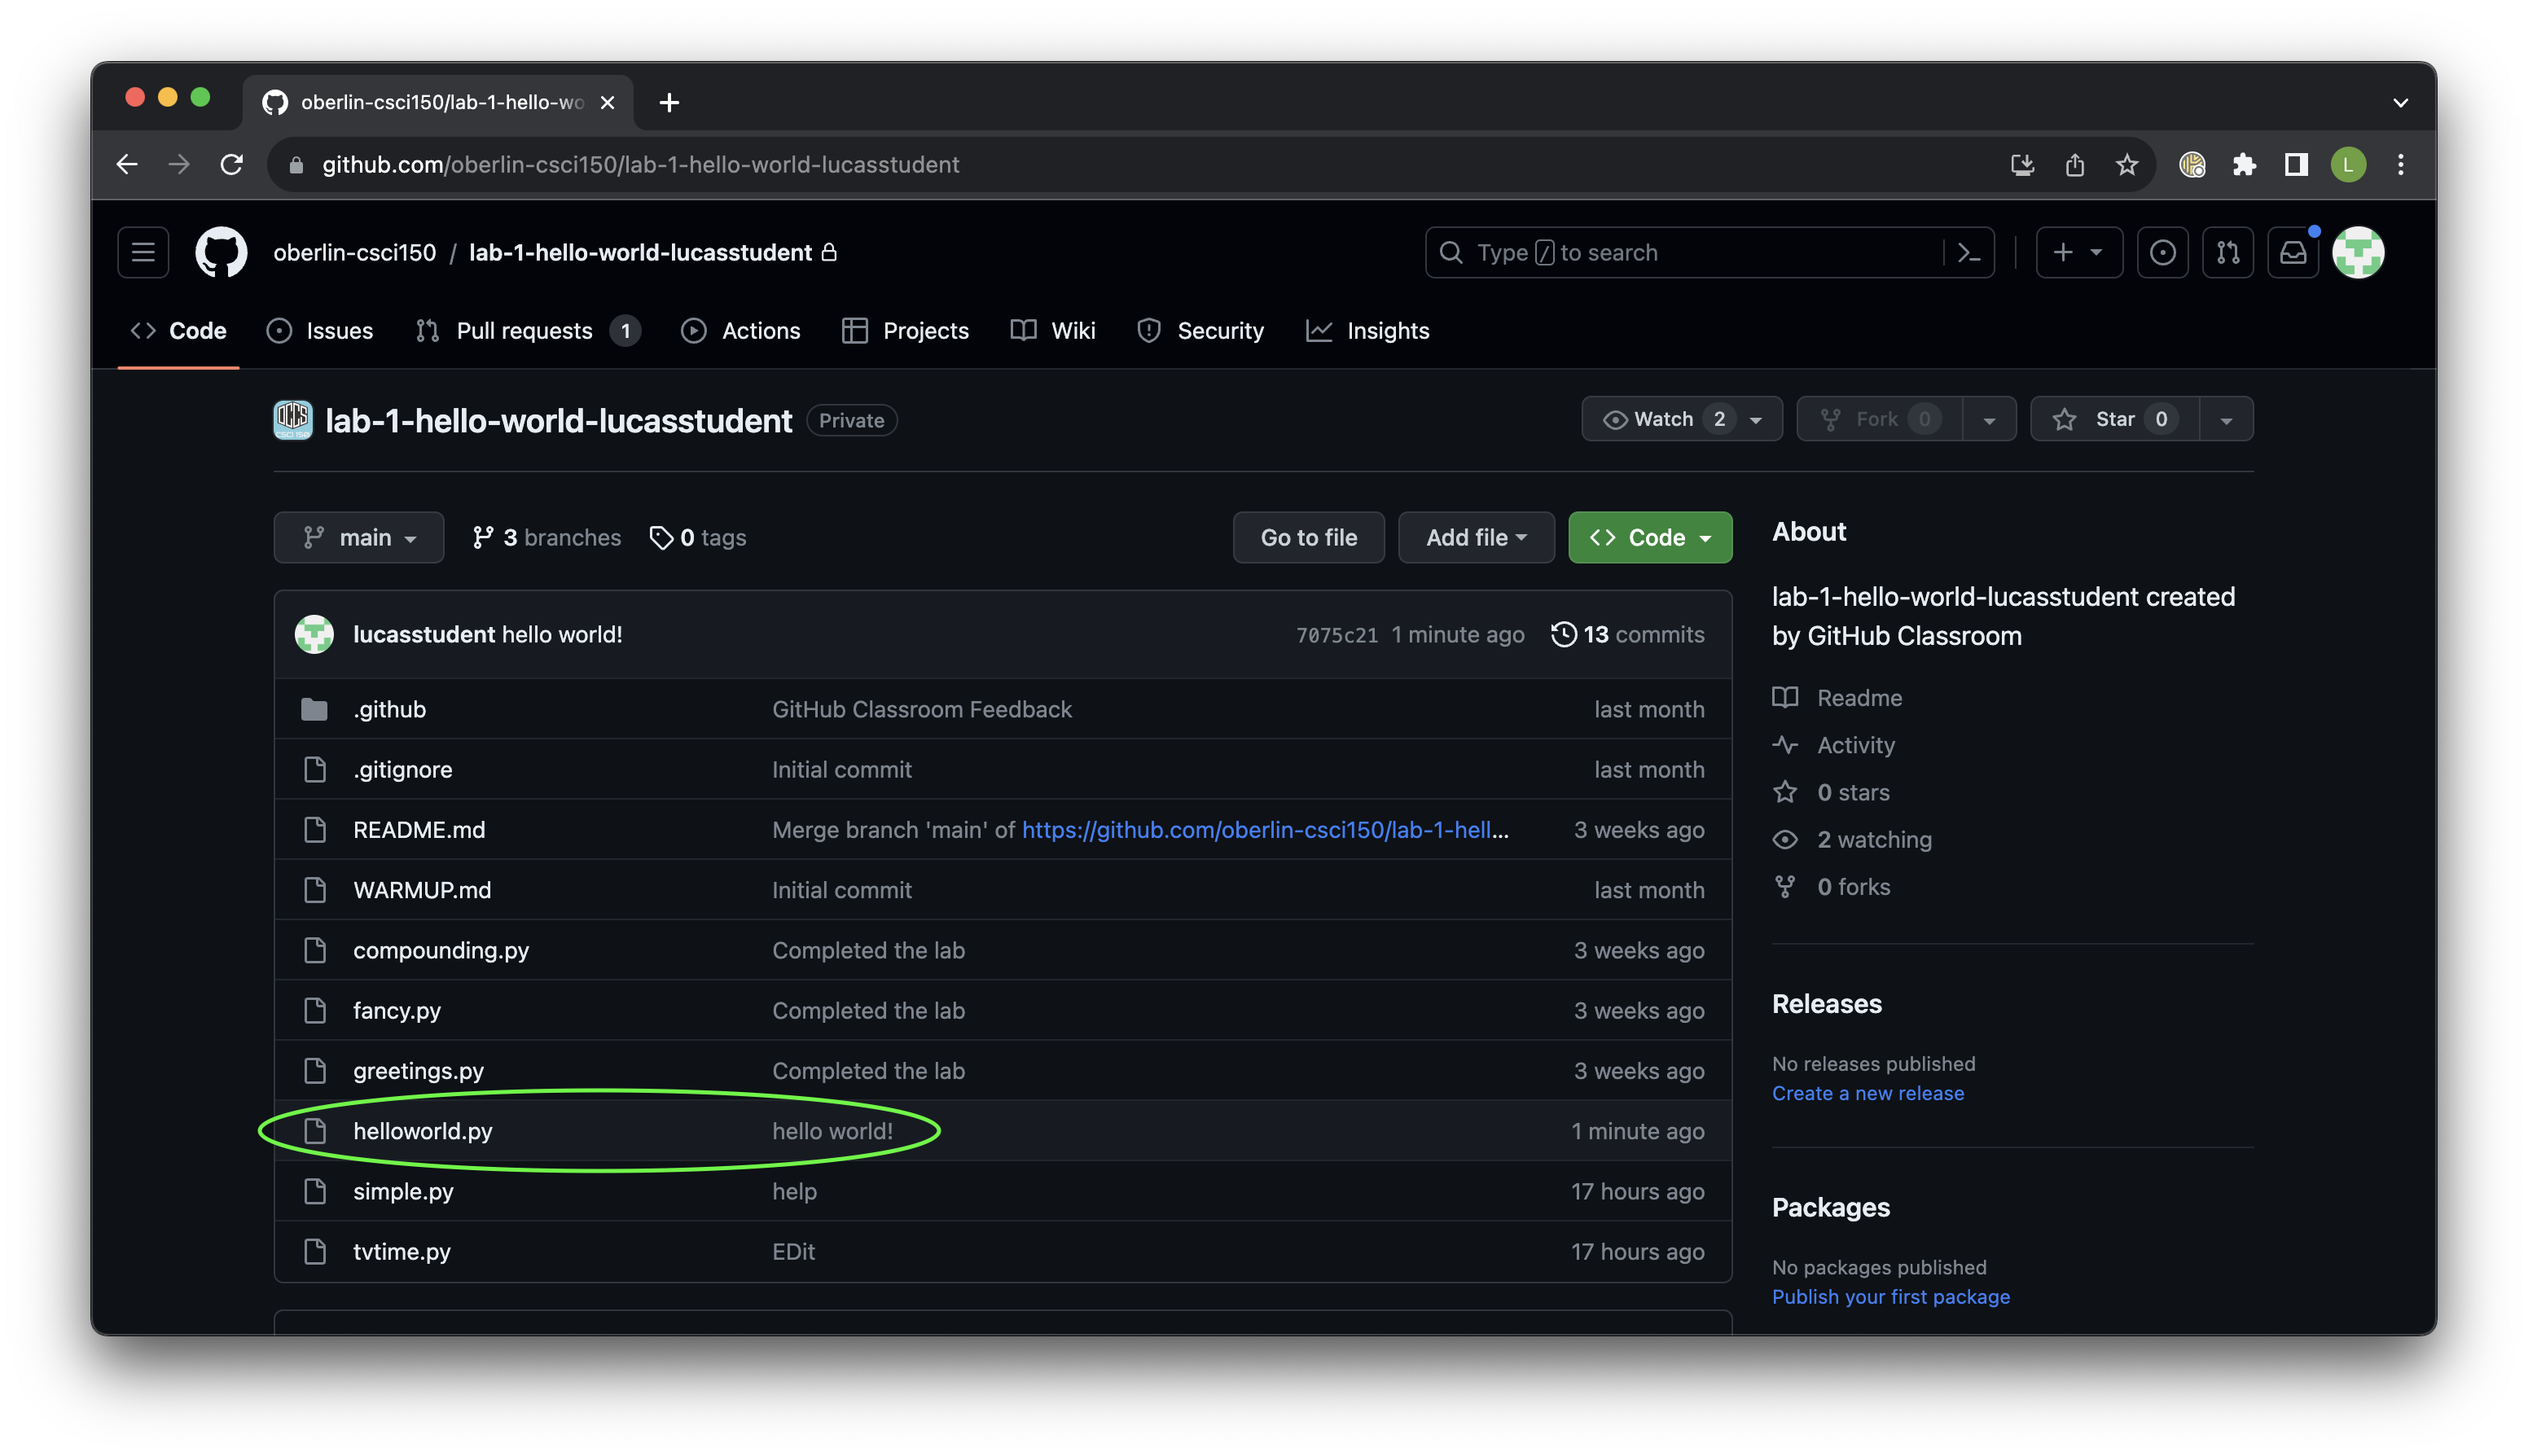
- If you don’t see your committed changes on your GitHub repository page, this is a good time to ask for some in-person assistance from lab instructors or helpers.
For each lab, you will have to commit and push at least once to submit your code for a grade. However, we recommend saving versions early and often so it’s easier to backtrack and troubleshoot when programs don’t work out. Our rule of thumb is to follow the structure of the assignment in the lab website: commit and push your code after each part of the lab. We will just grade the most recent commit, so feel free to save as many versions as are helpful for your thought process!
If you run into roadblocks or confusing error messages with version control, bring your computer to lab helper hours for some in-person guidance or take a screenshot of what you’re seeing and email your instructor.