Negative and Grayscale
Negative Filter: 4 points
Grayscale Filter: 4 points
Now, you will implement two functions that modify the image as described below. As always, begin by making an imagecopy variable to become the filtered image that gets returned at the end of the function. You can use the copy function you made in the Warmup. For more information about how to use the picture module to modify an image, please refer to the documentation. Note that all of the variables you use should be local variables: that is, they should either be defined in the body of the function, or listed as parameters in the function definition.
Negative Filter
The negative of an image is created by inverting each color channel. Remember, the values for each color can be from 0 to 255 (inclusive). So if the red value of a pixel were 255, it would become 0. If it were 254, it would become 1, and so on, down to 0 (which should become 255). Similarly for green and blue.
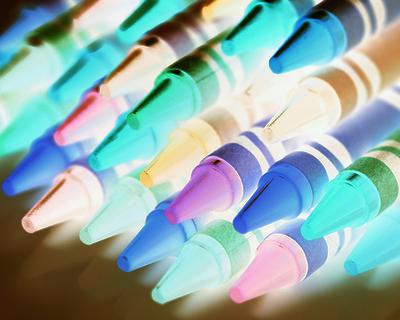
Negative Filter
Reminder
Once your filter is complete, don’t forget to commit and push your changes!
Grayscale Filter
Shades of gray have the same red, green, and blue value. To convert an image to grayscale, you should set the red, green, and blue values all to the average value of the three channels of the original pixel. This filter is the grayscale filter you designed in the warmup, meaning that you can use an import warmupgram_func statement at the top of your file and call the function with dot notation. Look back at the examples in warmupgram_run.py if you are not sure how to use dot notation.
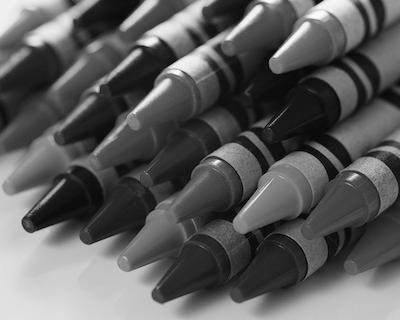
Grayscale Filter
Running and Testing Your Filters
Once you’ve implemented a function, update your placeholder for it in the looping menu. Make sure to test it both on its own and in combination with other filters!
Reminder
Once this is working don’t forget to commit and push your changes before moving on.